Self-Directed Case Study · Windows Endpoint & Server Administration
From the Endpoint to the Domain
Two environments. One lab-simulated enterprise Windows environment — built from scratch, documented step by step, and verified with screenshots. This case study covers Windows 11 workstation configuration from the client side, and Windows Server 2022 domain deployment from the server side.
Windows Server 2022Windows 11 EnterpriseAD DS · DHCP · DNS · GPOEvidence-Based Lab
2Environments Built
158Screenshots Taken
19Tasks & Phases
2+1Servers + Workstation
01
Windows 11 Enterprise Workstation Administration
Deploying, configuring, and hardening a Windows 11 workstation from scratch inside VMware Fusion on macOS — covering provisioning, local policies, PowerShell network management, Storage Spaces, and file sharing.
TASK 01Install Windows 11 on VMware Fusion — Named to Lab Convention
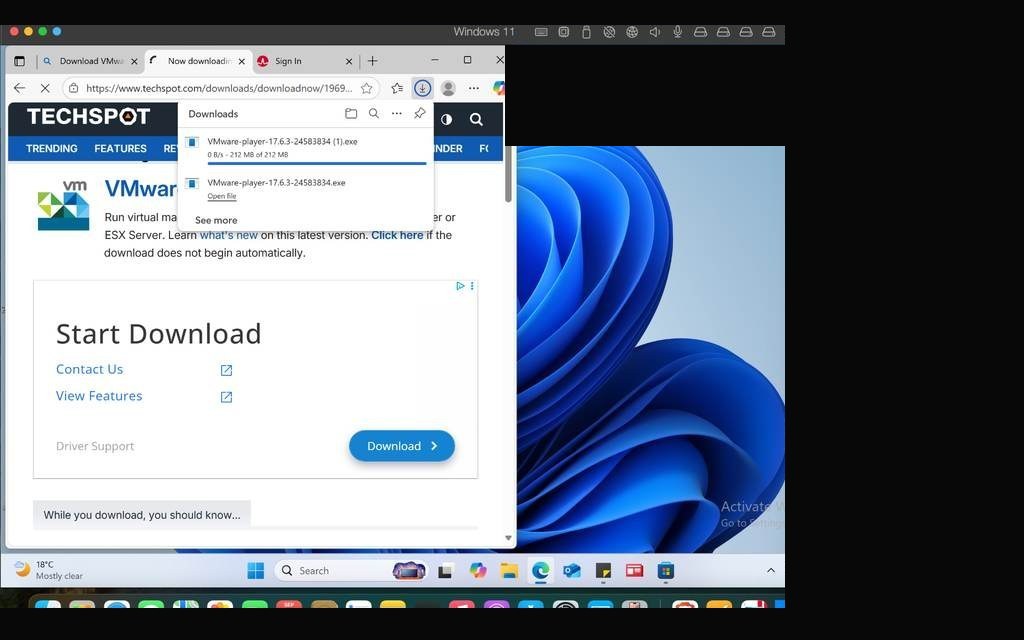
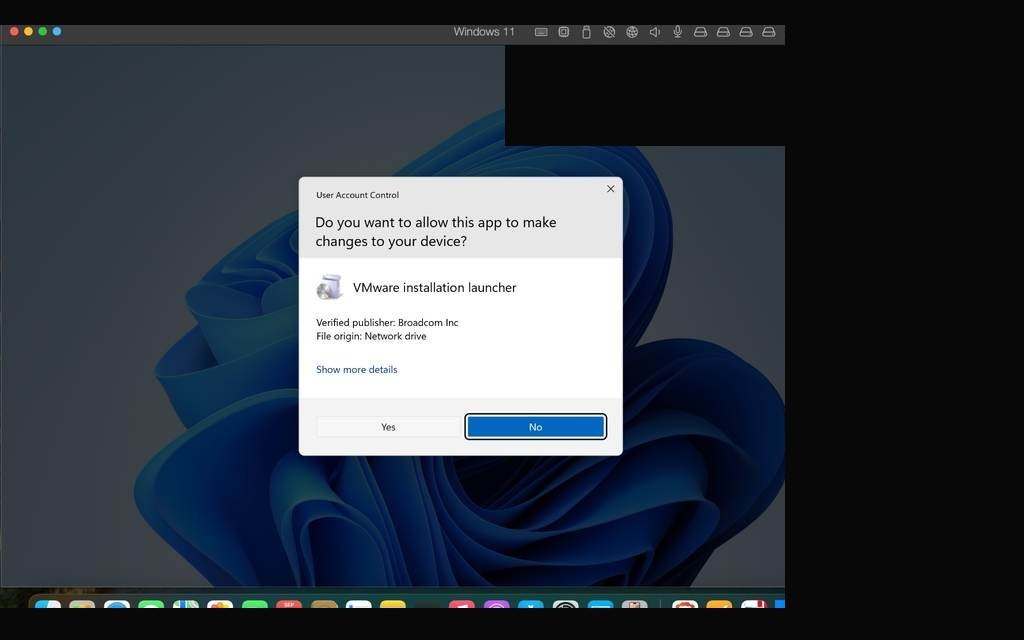
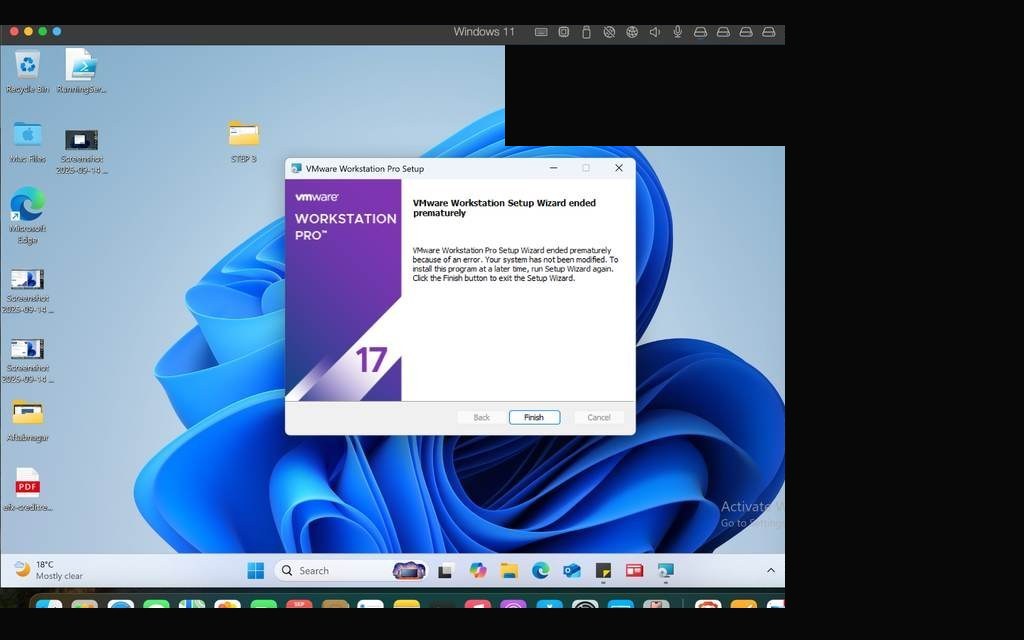
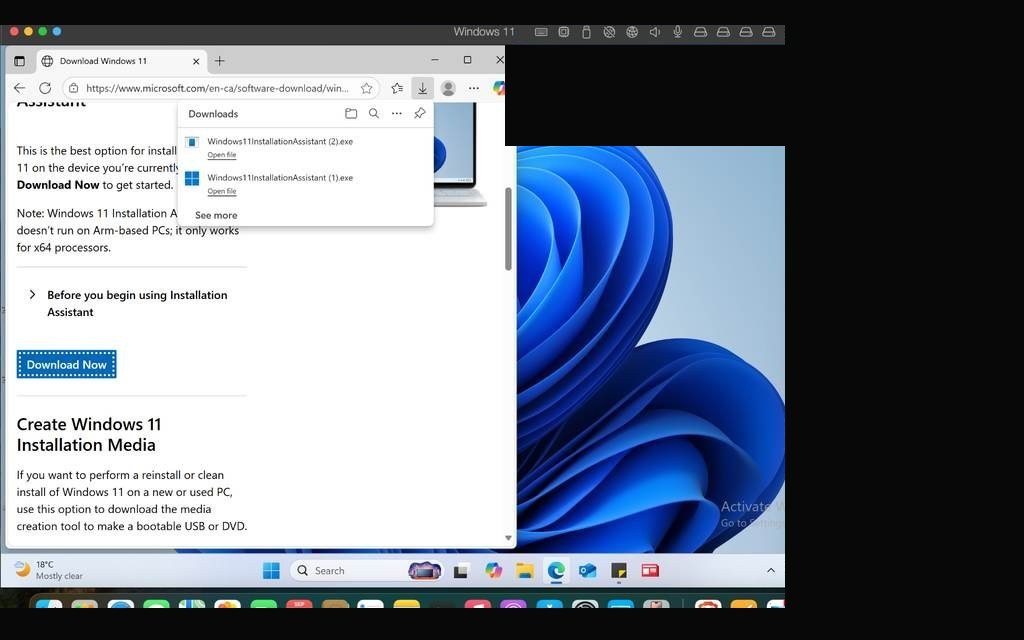
Every enterprise build starts the same way — a blank virtual machine. For this task, I deployed a fresh Windows 11 installation inside VMware Fusion on my MacBook, using a consistent lab naming convention so each later configuration step could be traced clearly.
Getting Windows 11 to install on Fusion required downloading the ISO, creating the VM with sufficient specs, and navigating through the Setup wizard. The machine name followed the lab convention during initial configuration — a detail that mattered for identification across subsequent screenshots.
VMware Fusion — Windows 11 desktop running with identifiers redactedVMware page & Windows 11 installation running side by side on macOSWindows 11 installation progress — setup copying filesVM resources configured — CPU, RAM, and storage allocated for Windows 11Windows 11 successfully booted with public identifiers redacted
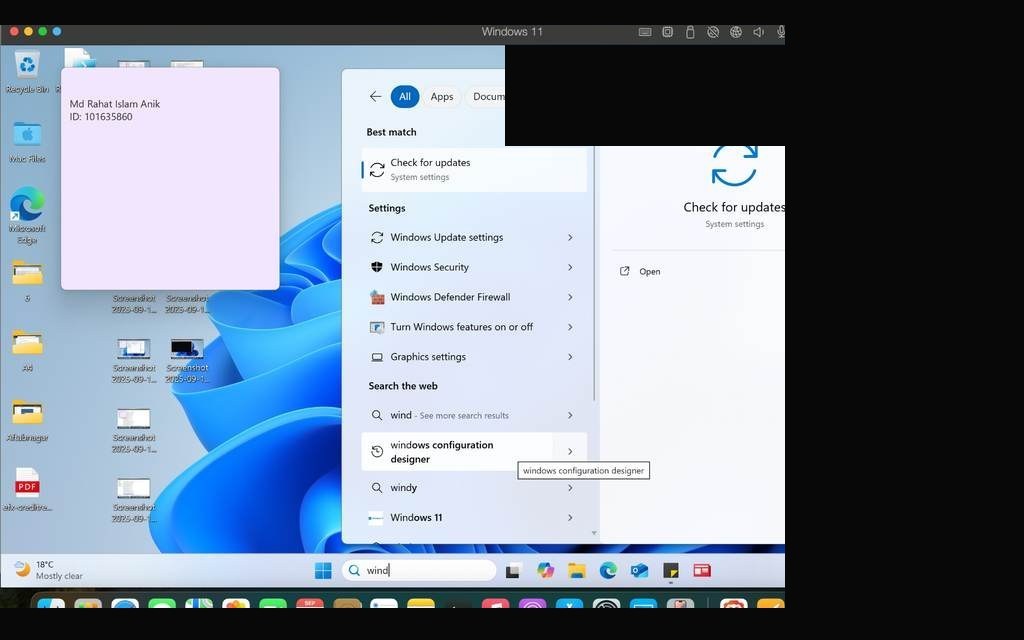
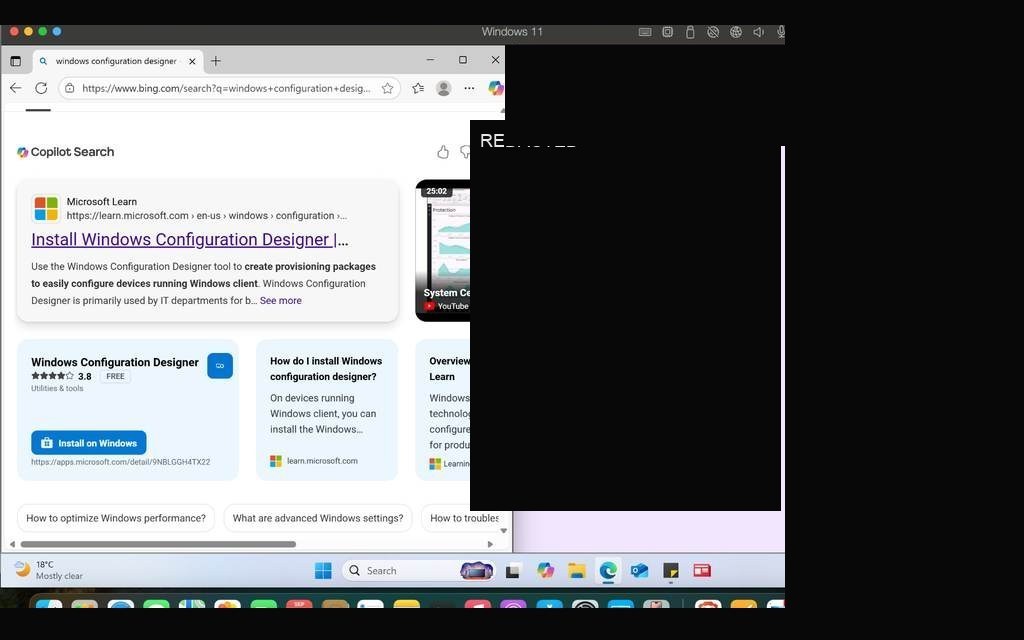
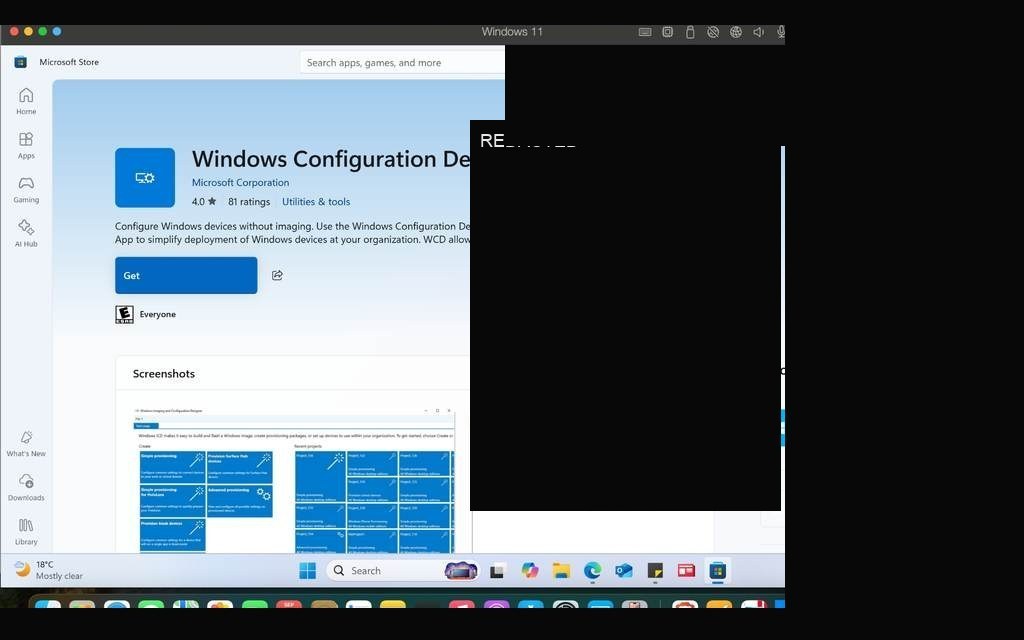
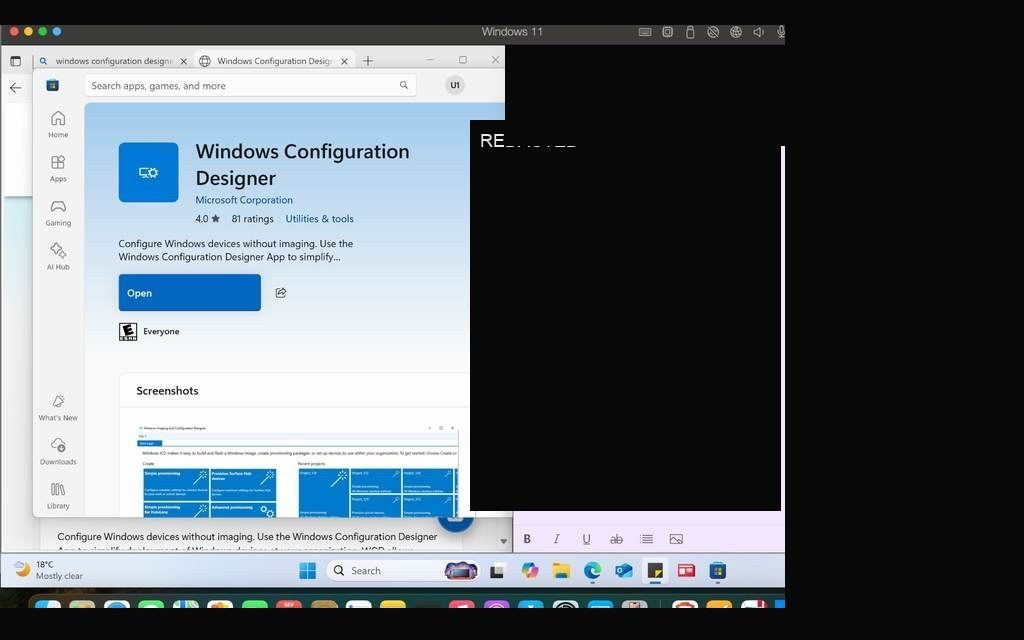
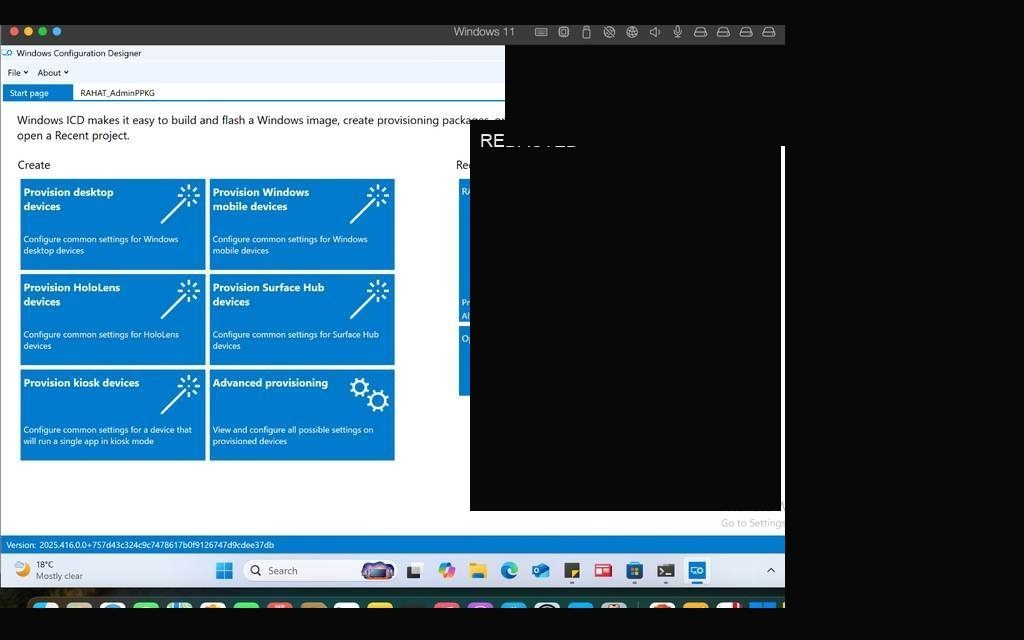
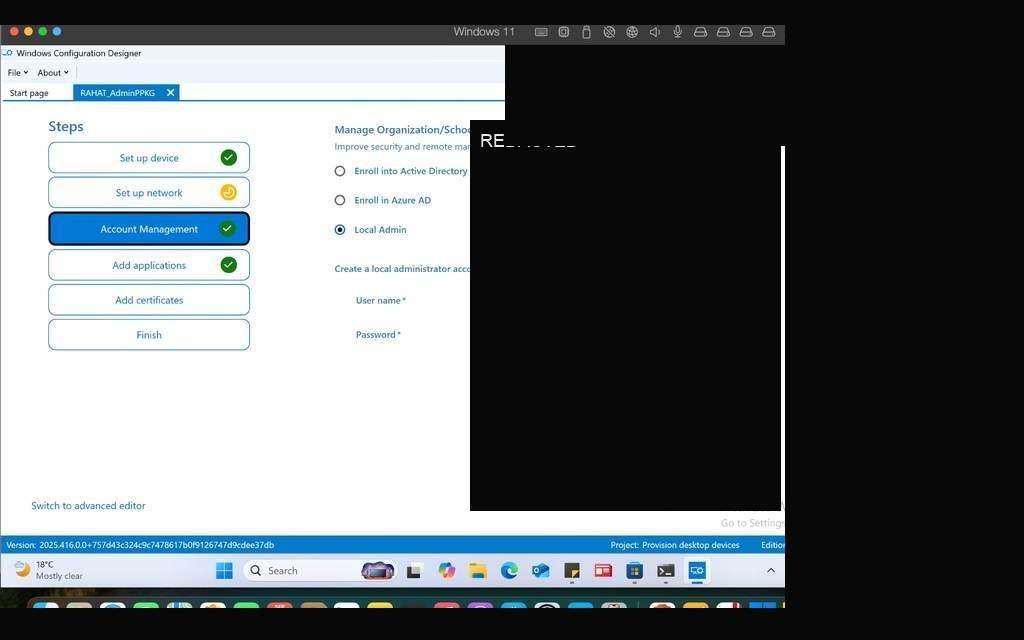
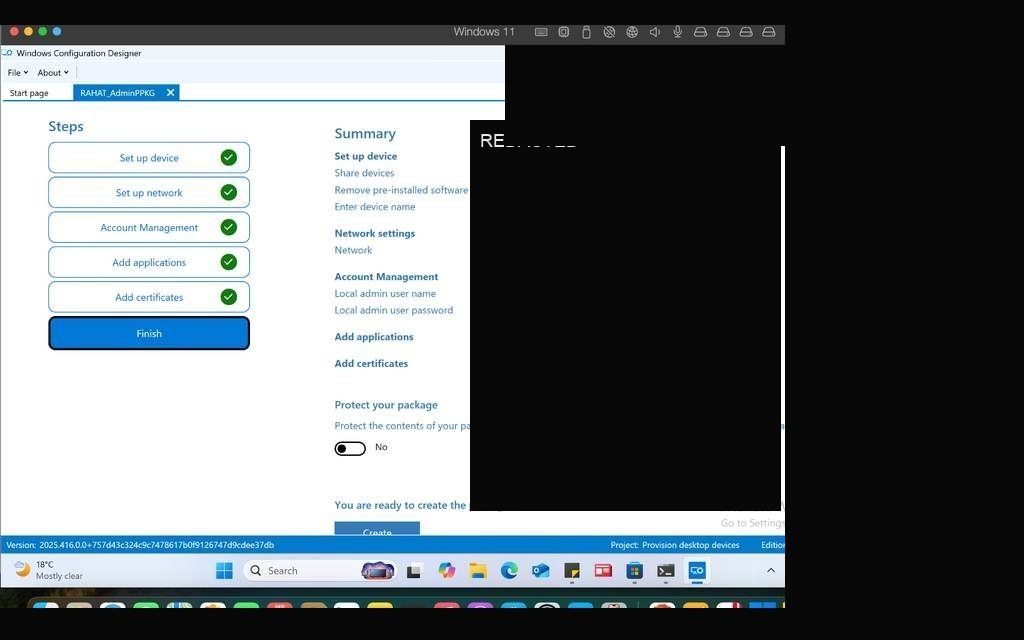
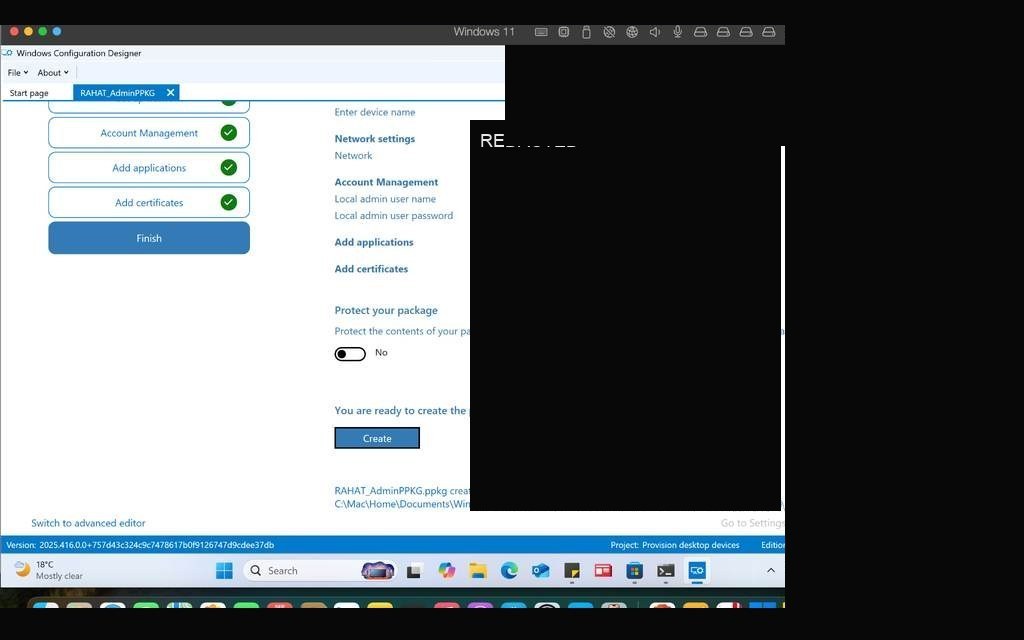
TASK 02Provisioning Package — Create Local Admin Account via Windows Configuration Designer
In enterprise environments, IT teams rarely configure each PC manually — they use provisioning packages to automate setup. This task required creating a .ppkg file using Windows Configuration Designer (WCD) that would create a lab-only local administrator account and apply it to the VM.
I built the package step by step in WCD: selecting the account settings, defining local sign-in details, exporting the .ppkg file, and then applying it to the Windows 11 VM. After application, the account appeared under local users — confirming the package deployed correctly.
Windows Configuration Designer open — starting a new provisioning packageConfiguring account settings inside WCD — local admin account details enteredProvisioning package settings review before exportPackage exported successfully as .ppkg fileApplying the provisioning package to Windows 11 VMPackage installation confirmation — applying settingsLocal Users and Groups — lab admin account appears post-provisioningAccount verified in Computer ManagementAdmin account confirmed active with correct group membership
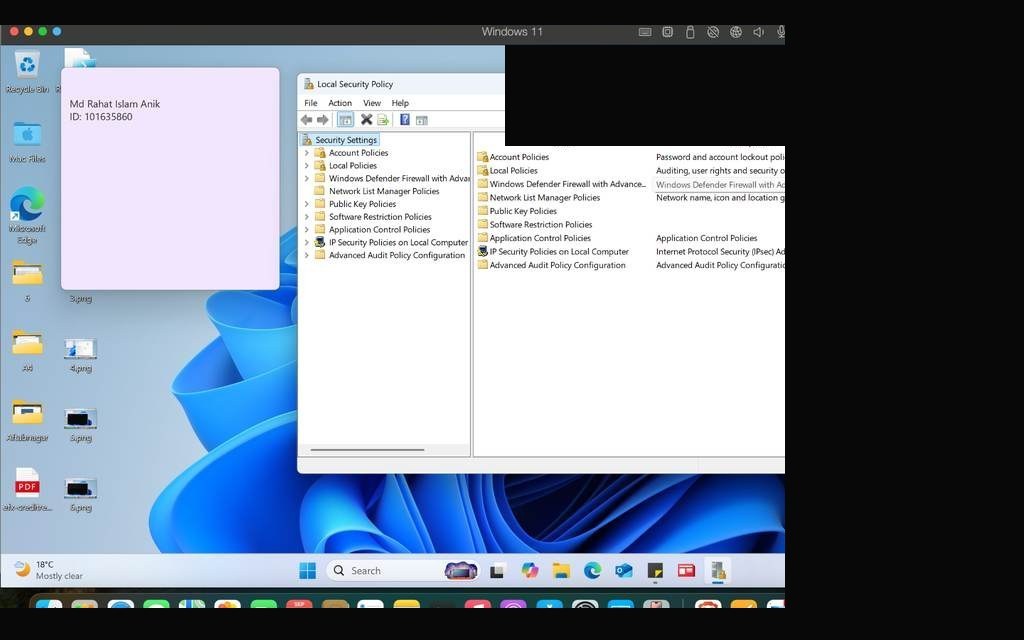
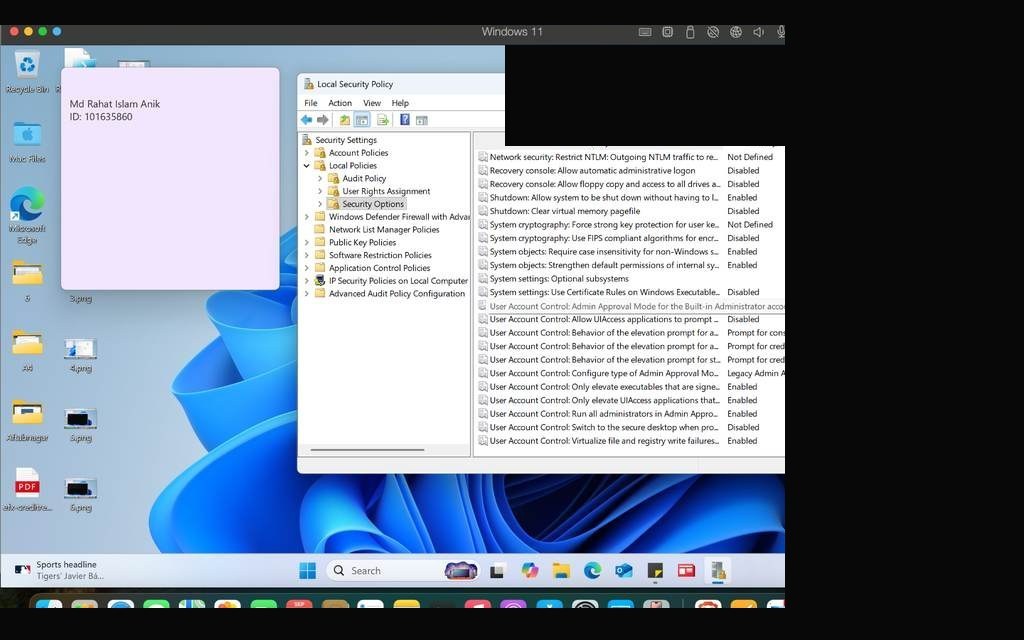
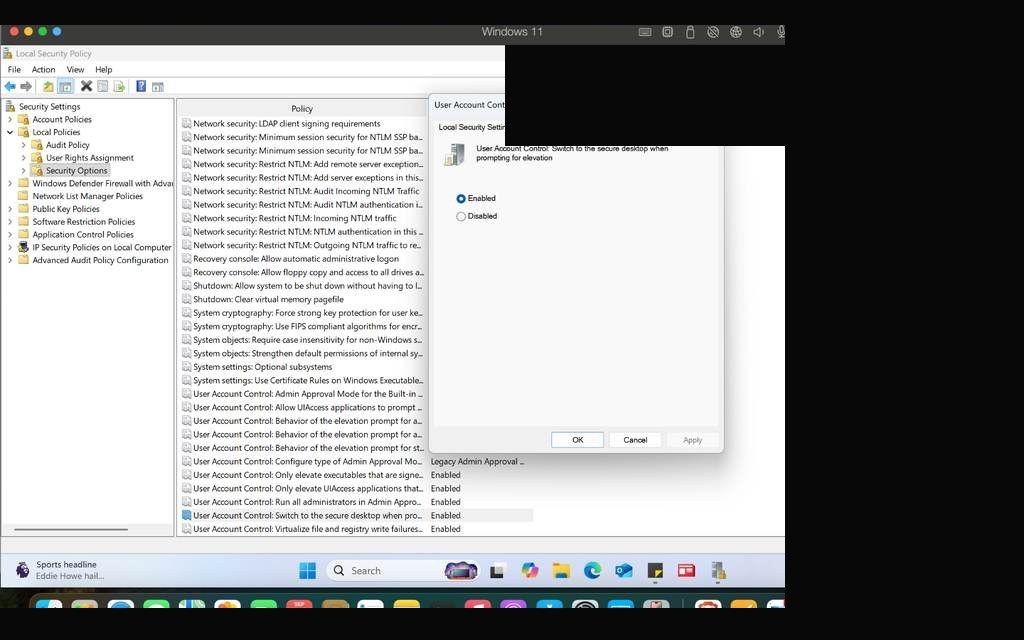
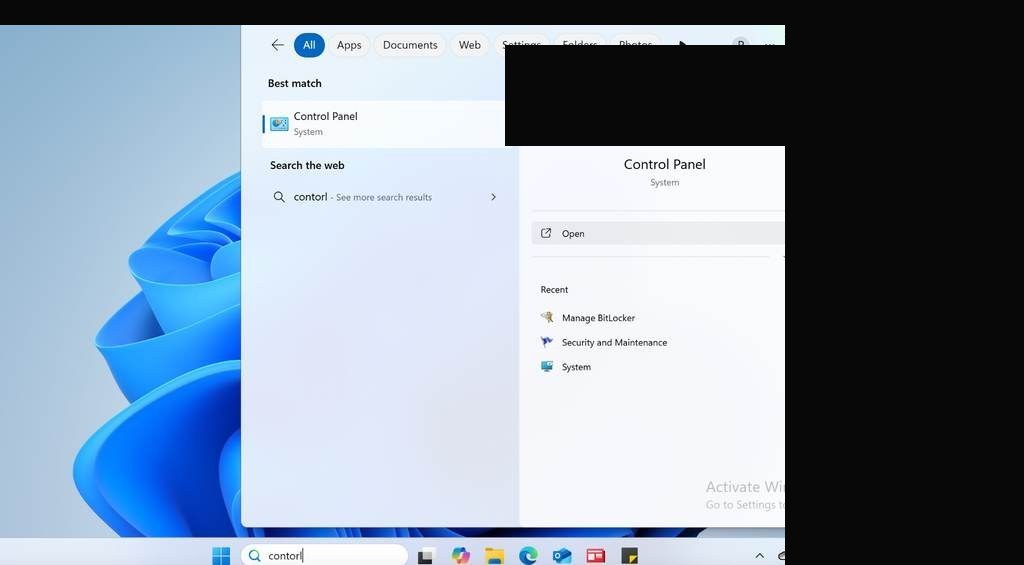
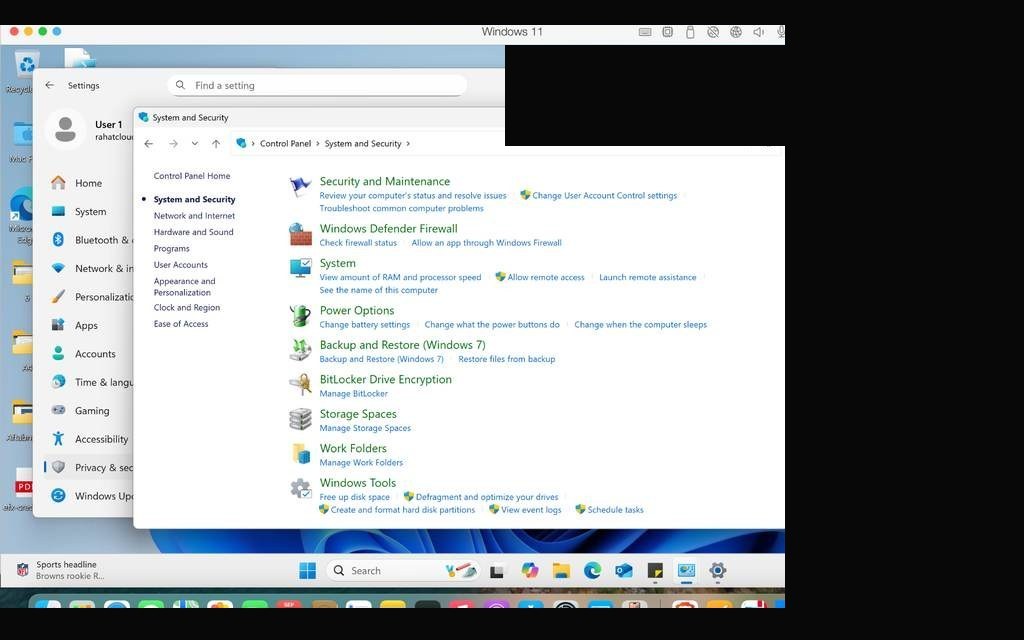
Security hardening is non-negotiable in any enterprise environment. This task required configuring Local Security Policy to enforce UAC (User Account Control) behavior — specifically, ensuring that any privileged action triggers a secure authentication prompt and dims the desktop (Secure Desktop mode). This prevents malware from spoofing the UAC dialog.
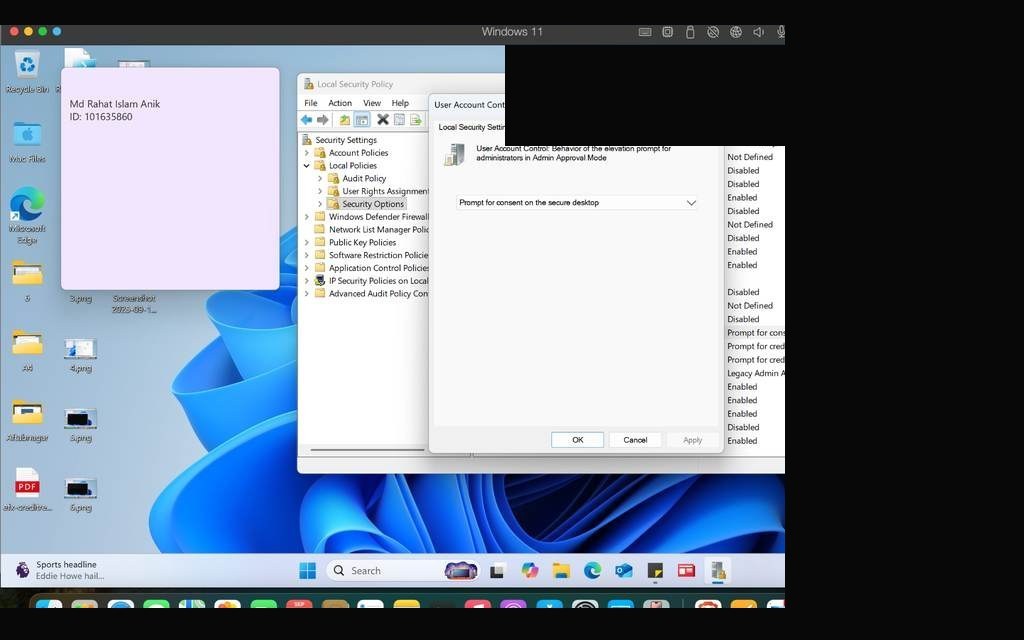
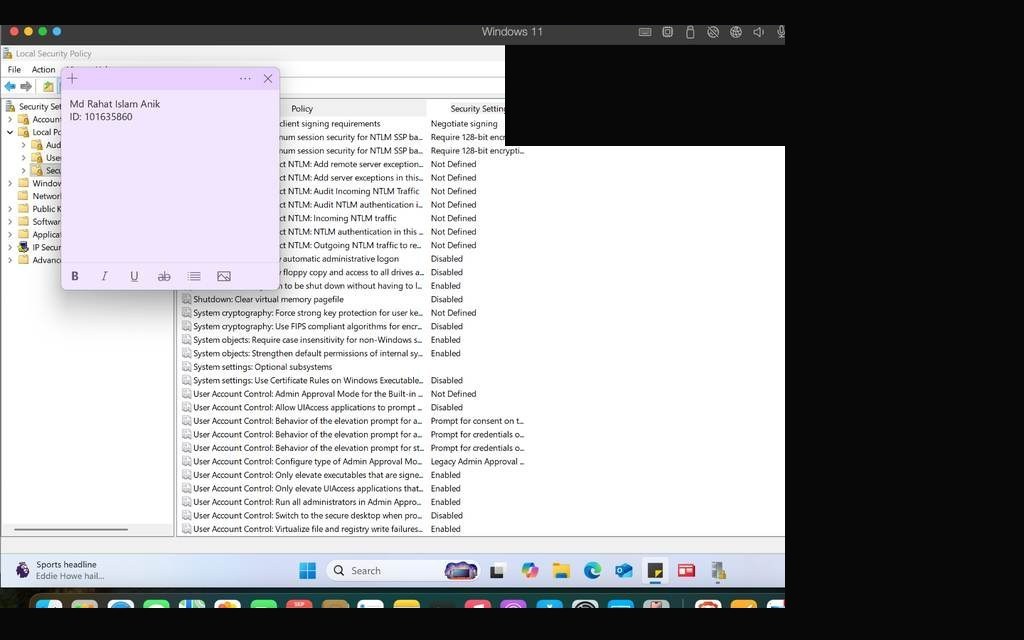
I accessed secpol.msc, navigated to Local Policies → Security Options, and located the UAC settings. I configured the elevation prompt for administrators in Admin Approval Mode to require authentication on the secure desktop. Screenshots captured the before/after state of each policy setting.
⚠
Note: Some screens include redaction where lab identifiers appeared. The visible policy windows remain the relevant evidence for this task.
secpol.msc open — Local Security Policy consoleSecurity Options list — UAC policies visibleUAC — elevation prompt configured for secure authenticationSecure Desktop dimming policy — enabledPolicy confirmation — UAC elevation on secure desktop configuredLocal policy settings verified — all UAC options correctly set
Additional UAC verification screenshotPolicy applied — testing UAC prompt triggers correctlyScreen dims on UAC trigger — secure desktop activeUAC authentication dialog visibleFinal policy state confirmed in secpol.msc
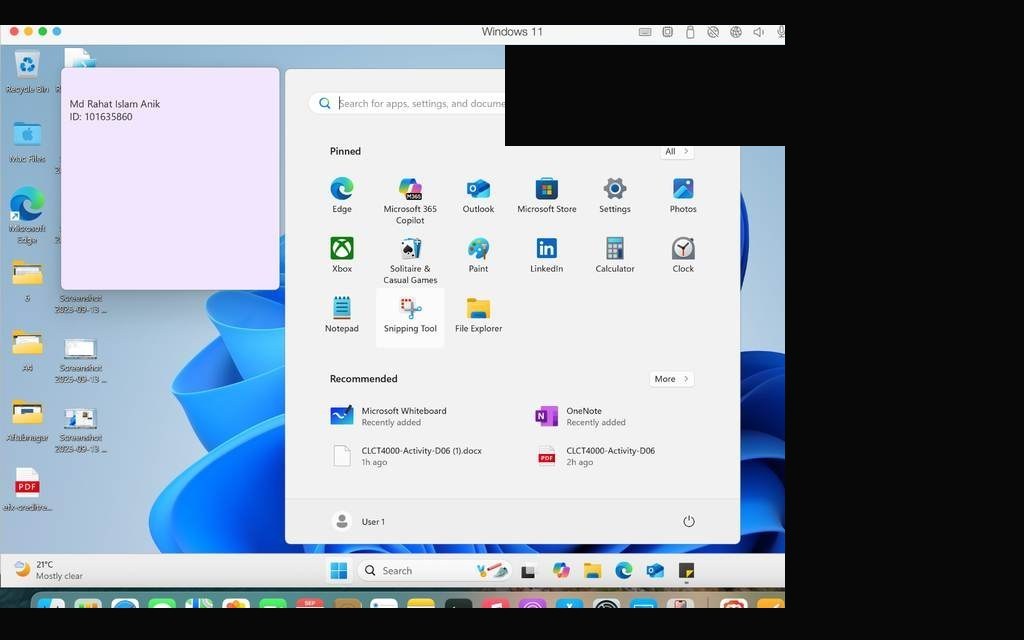
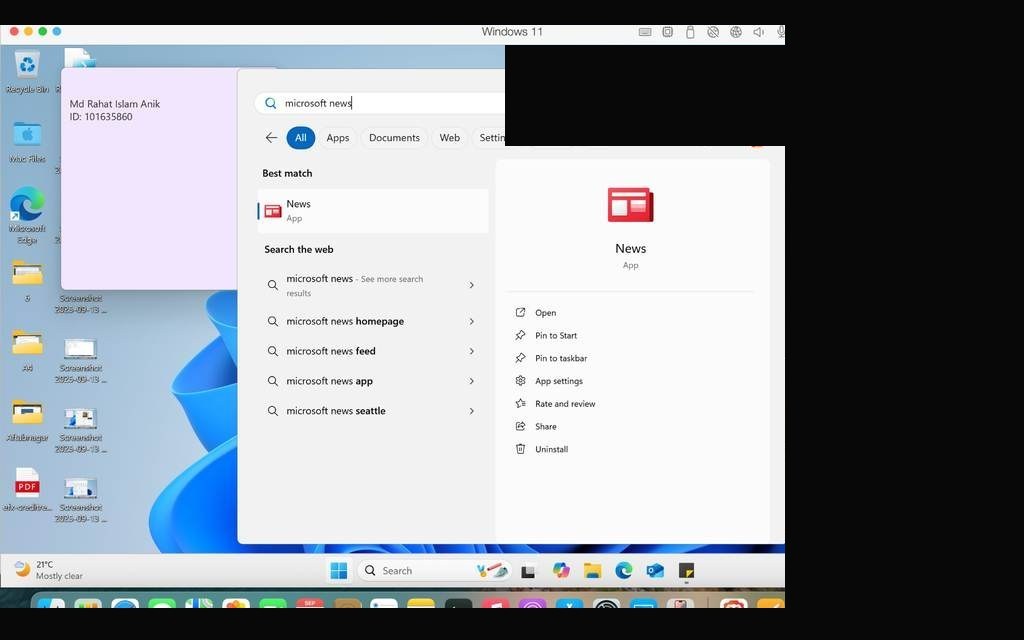
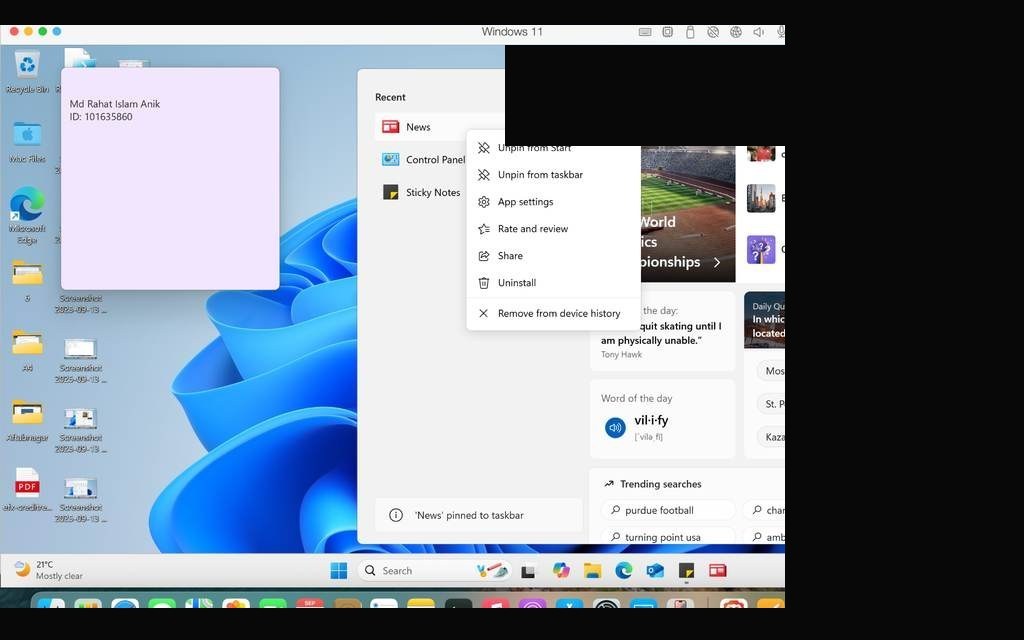
TASK 04Pin Microsoft News to Start Menu & Export Taskbar Layout via PowerShell
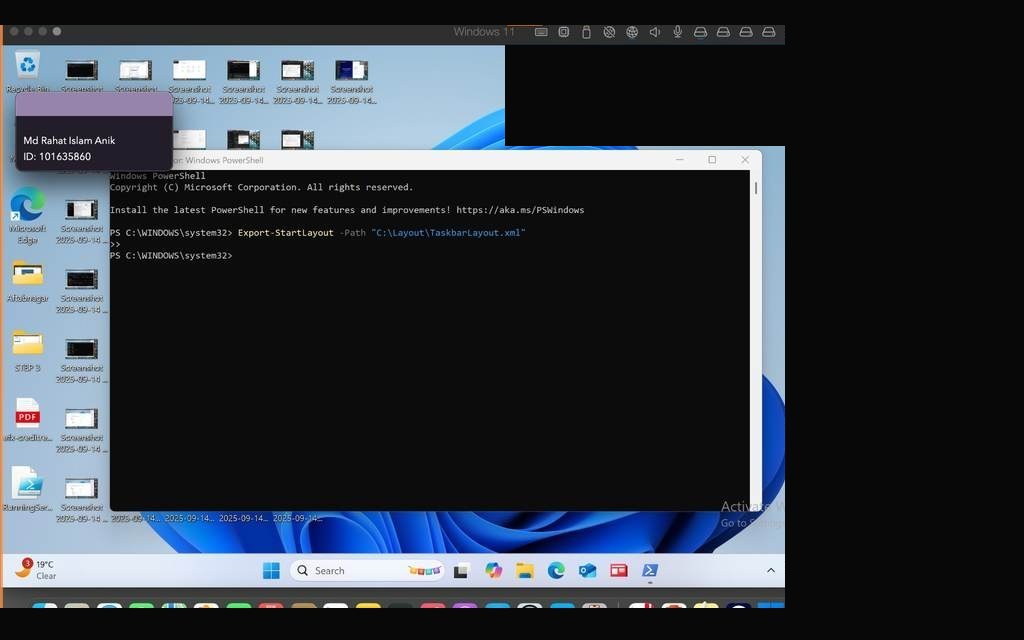
Standardized Start menu and taskbar layouts are a common enterprise requirement — IT departments often deploy a locked-down layout to ensure consistency across all endpoints. This task required pinning the Microsoft News app to the Start menu, then exporting the taskbar configuration to an XML file using PowerShell.
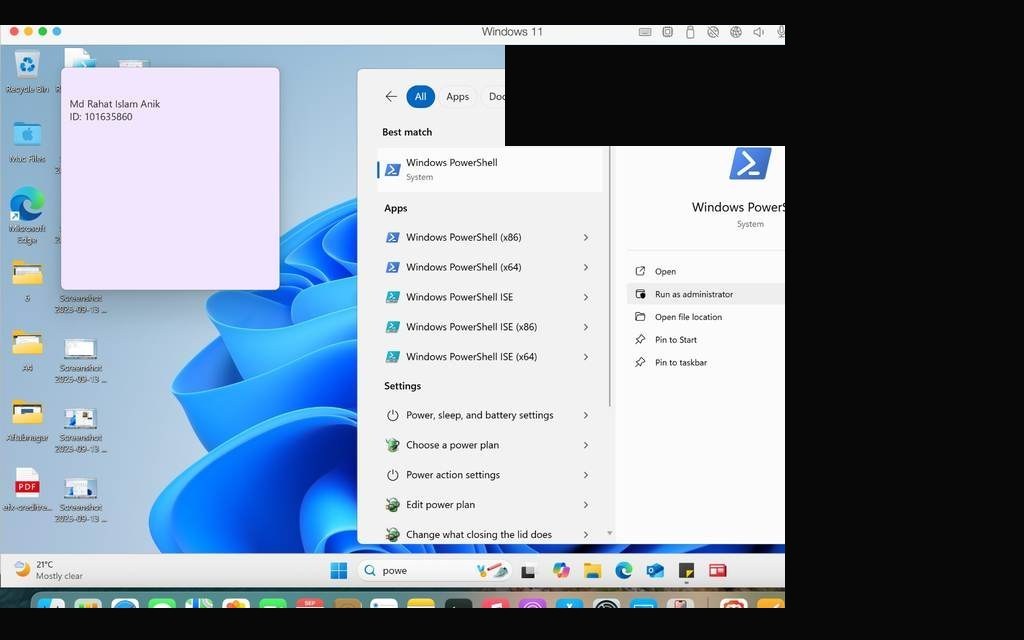
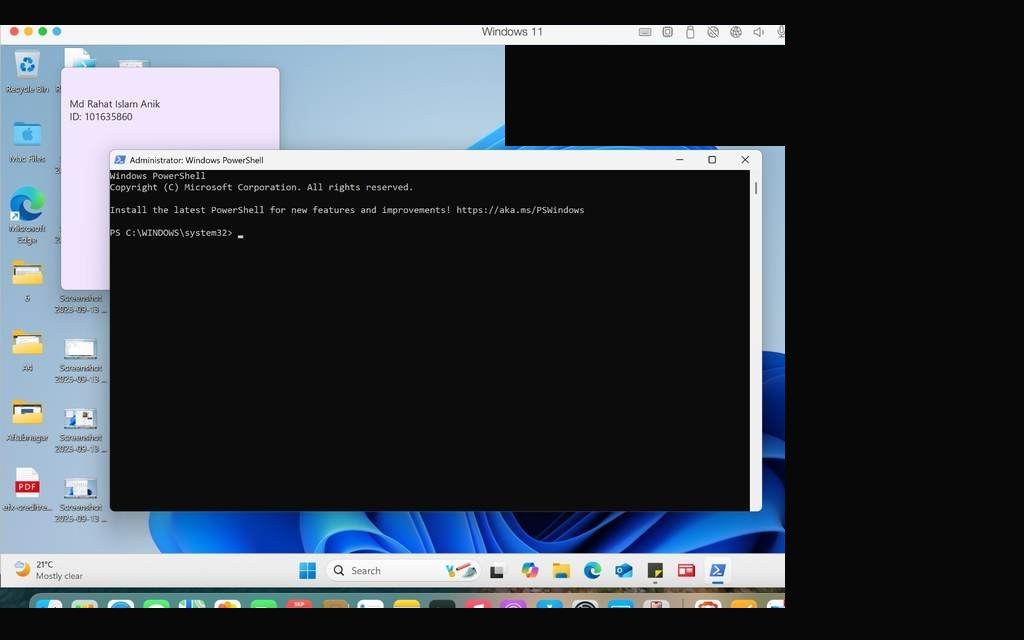
I pinned the app through the Start menu UI, then used Export-StartLayout and related cmdlets in PowerShell to export the configuration. The resulting layout file could be deployed company-wide through Group Policy — a direct bridge to what I'd implement on the server side later.
Start menu open — Microsoft News app located for pinningMicrosoft News pinned to Start menu — confirmationPowerShell open — Export-StartLayout command readyTaskbar layout exported to XML file successfullyXML layout file verified in File ExplorerLayout file contents — pinned apps visible in XML
TASK 05PowerShell Network Configuration — Set Static IPv4 Address
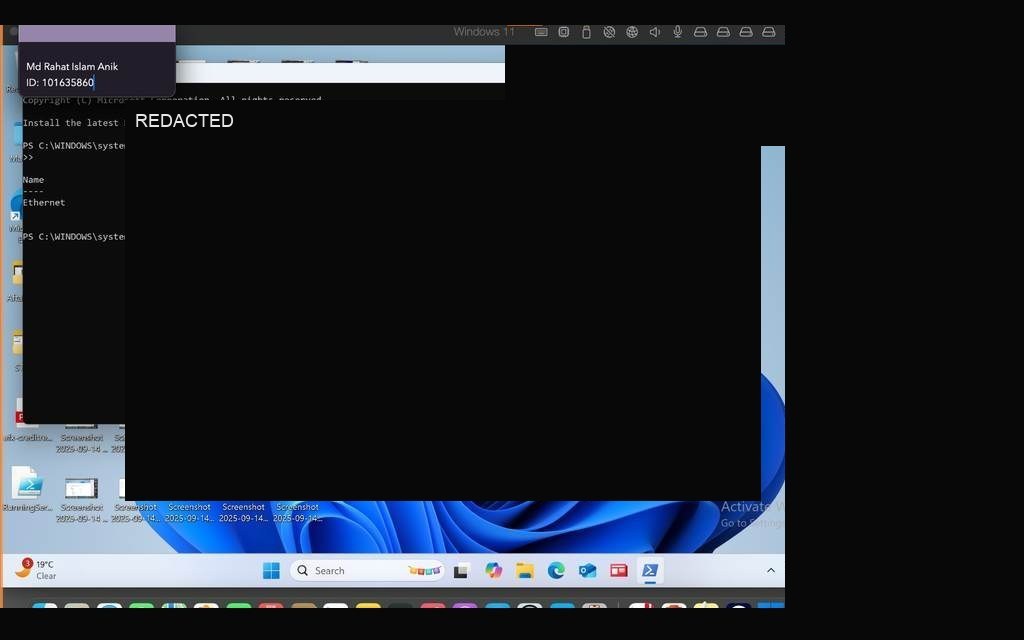
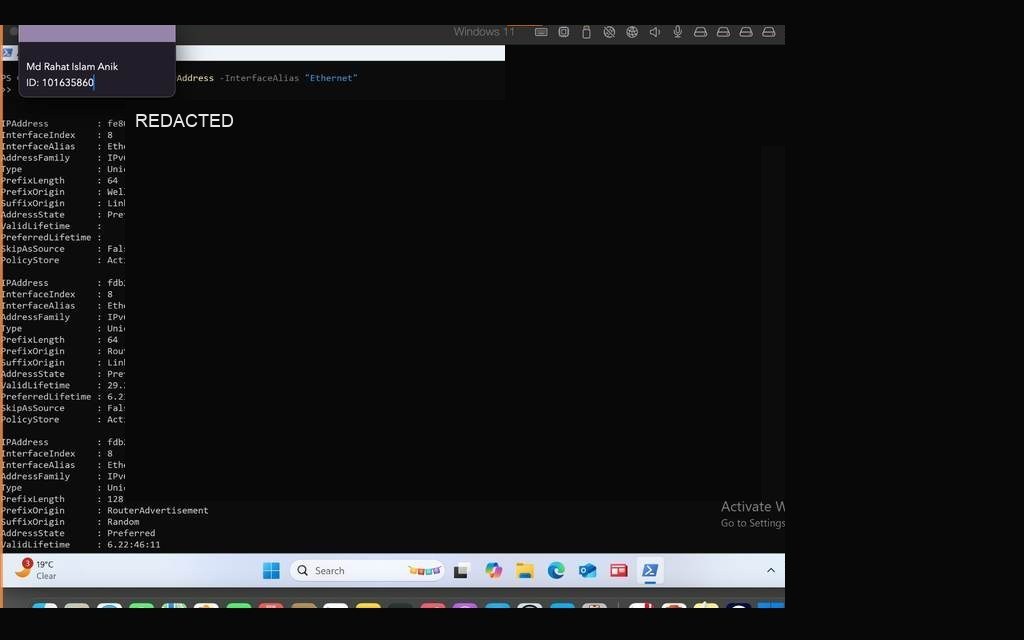
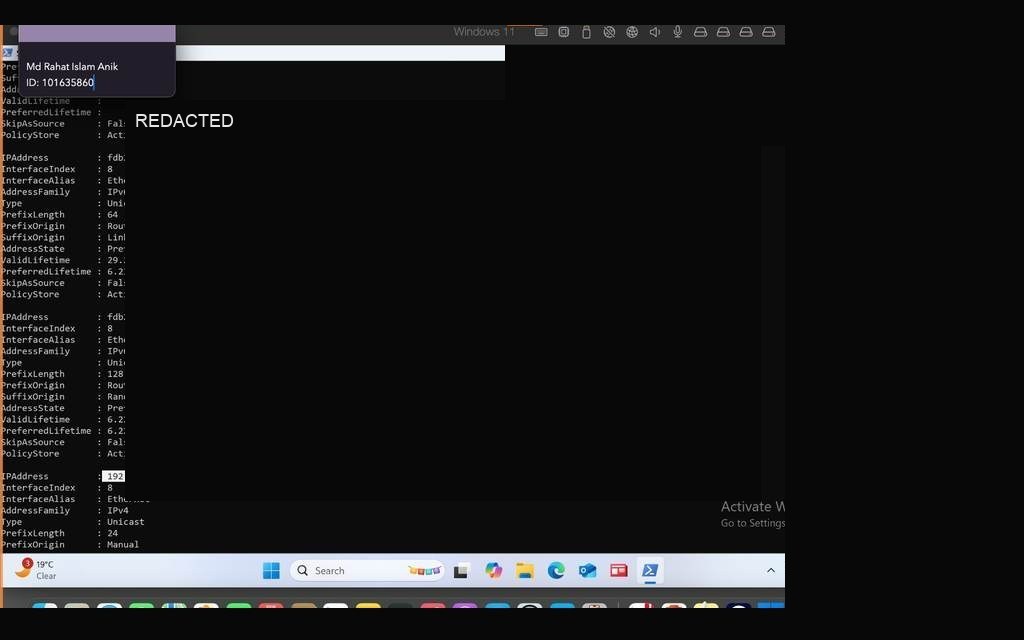
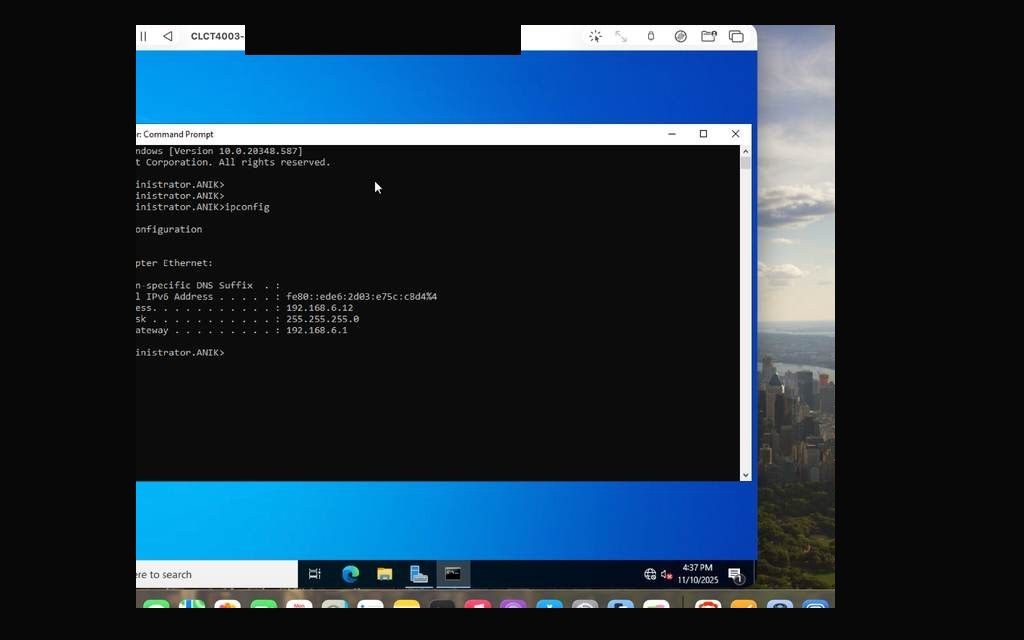
Network configuration via PowerShell is a core sysadmin skill. Rather than using the GUI, this task required setting a static IPv4 address of redacted lab IPv4 address directly through the command line using New-NetIPAddress. This approach is scriptable, repeatable, and deployable at scale — exactly how enterprise teams manage endpoints.
I identified the correct adapter using Get-NetAdapter, removed any existing DHCP-assigned address, and applied the static configuration. Running ipconfig /all after confirmed the address was correctly assigned to the adapter.
PowerShell — Get-NetAdapter showing available network interfacesNew-NetIPAddress command executed — static IP redacted lab IPv4 address appliedipconfig /all output — static IP confirmed on adapterNetwork adapter properties — static IP visible in settingsFinal verification — adapter showing redacted lab IPv4 address assigned
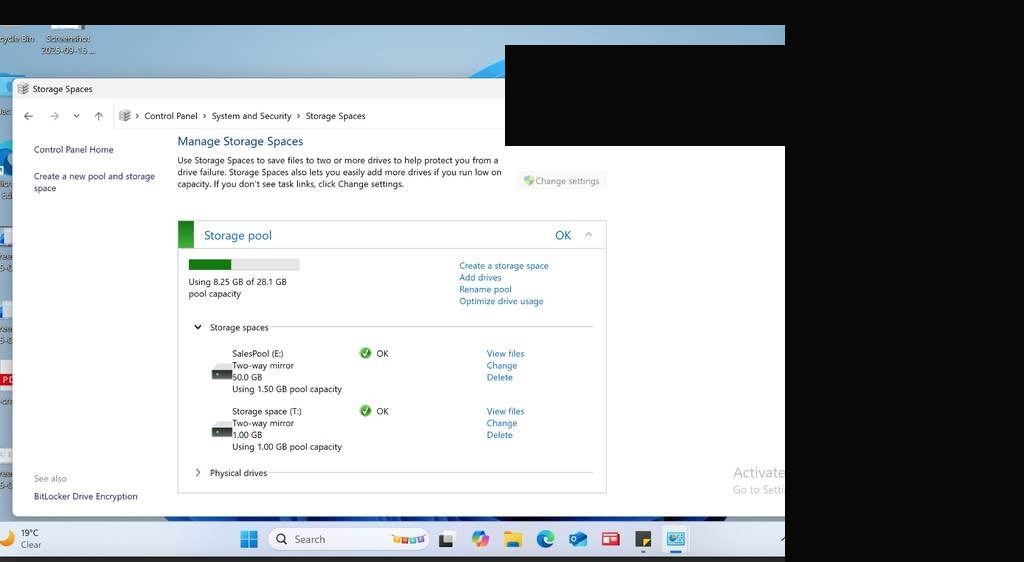
TASK 06Storage Spaces — Create a 2-Way Mirror Storage Pool
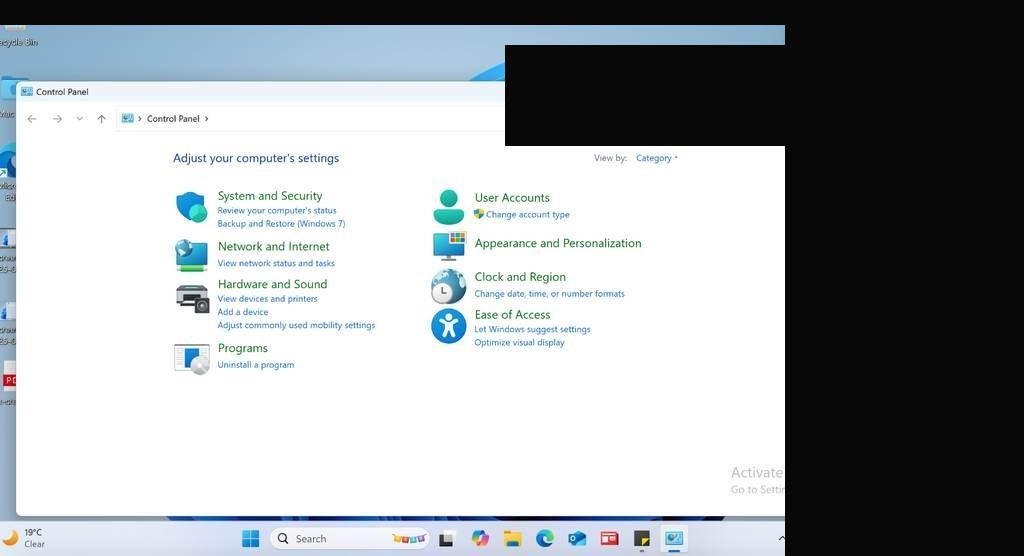
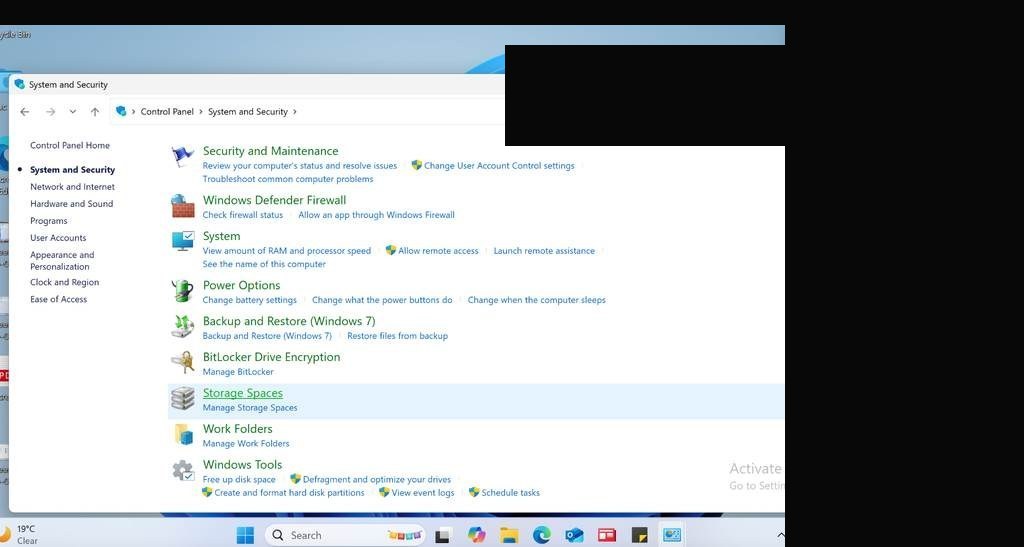
Storage Spaces is Windows' software-defined storage solution — it pools physical disks into resilient volumes. A 2-way mirror writes data to two disks simultaneously, providing fault tolerance if one drive fails. This task required creating a Storage Pool from available virtual disks, then creating a 2-way mirror virtual disk on top of it.
I navigated to Server Manager → File and Storage Services → Storage Pools, added the available disks to a pool, and created the mirrored virtual disk. The resulting volume was mounted and ready for use — setting up the foundation for the file sharing tasks that followed.
Storage Spaces wizard open — creating new storage poolSelecting physical disks for the storage pool2-Way Mirror selected as resiliency typeStorage pool and virtual disk being createdStorage pool successfully created and visible in File Explorer
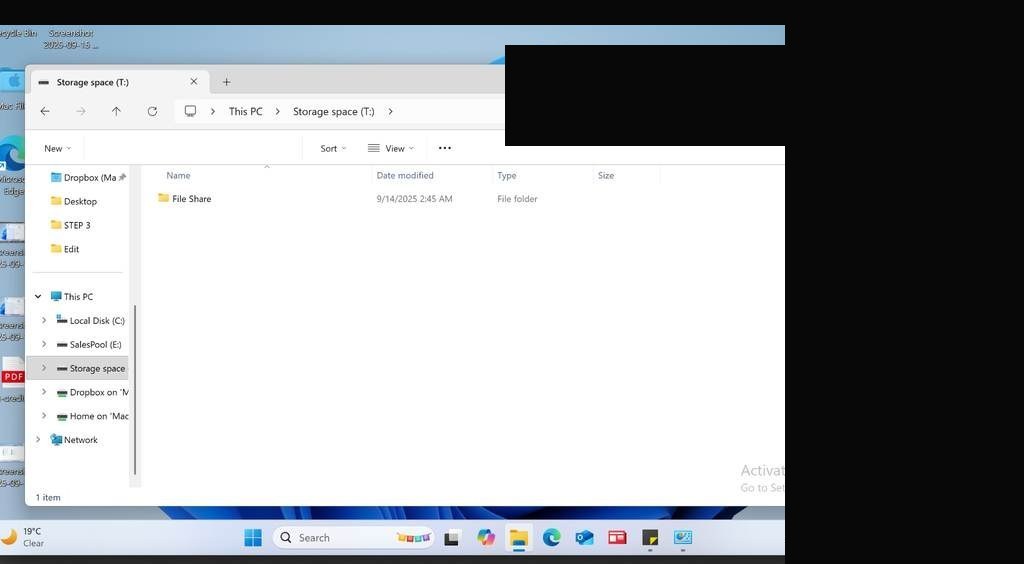
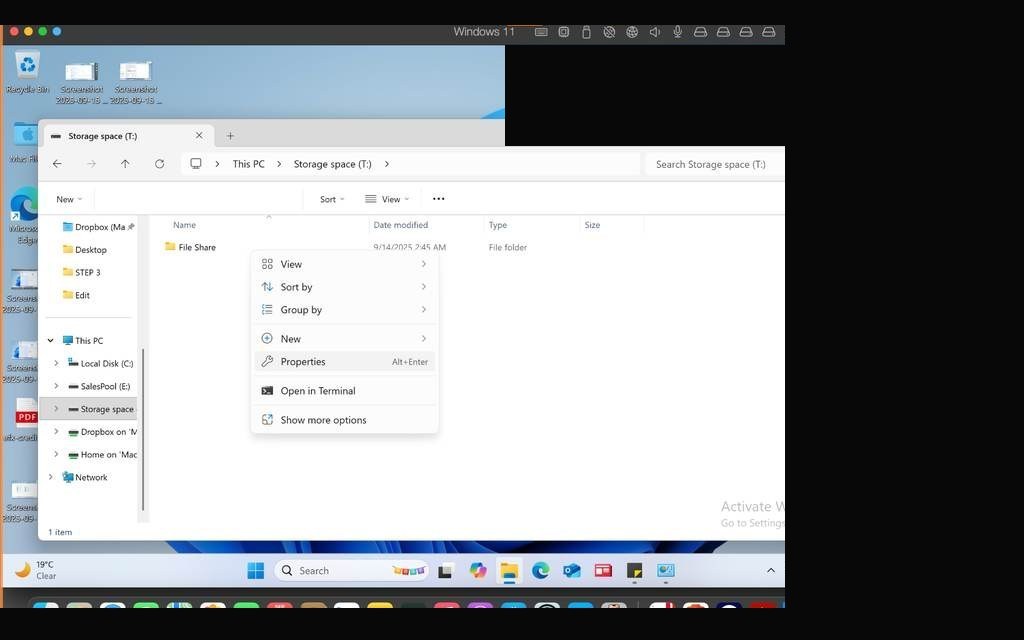
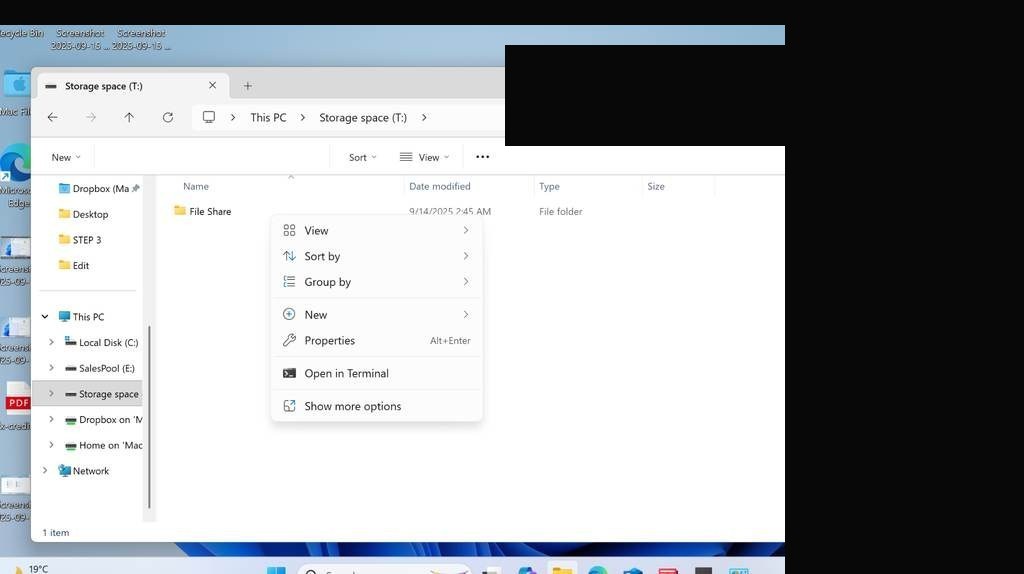
TASK 07Create "File Share" Folder on the Storage Space Volume
With the storage pool created, the next step was creating the File Share folder on the new volume — this would serve as the shared network resource for the next task. Placing it on the mirrored storage space ensures any data stored here has redundancy built in.
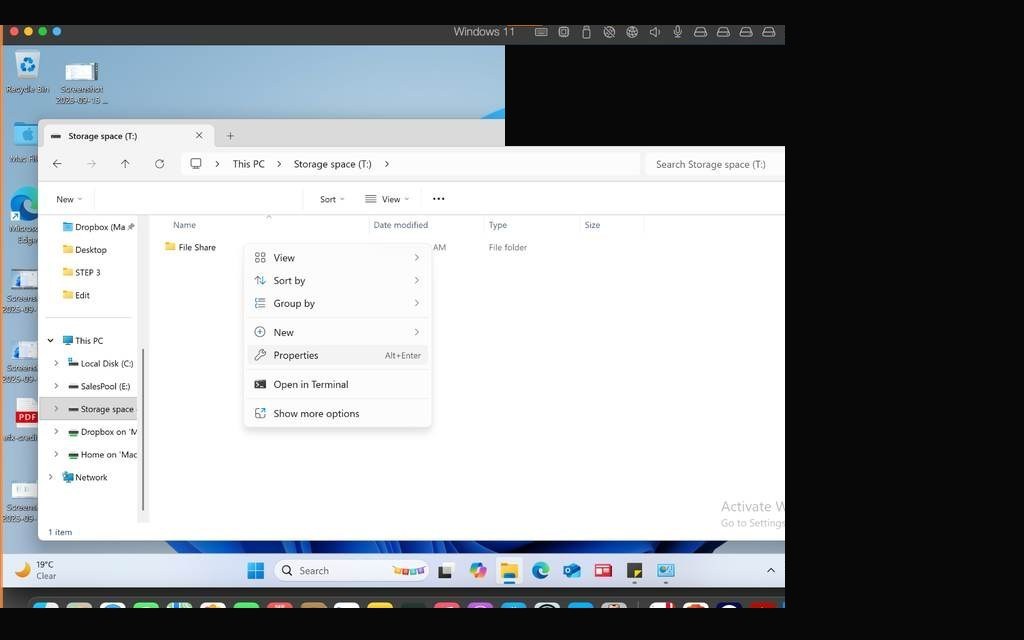
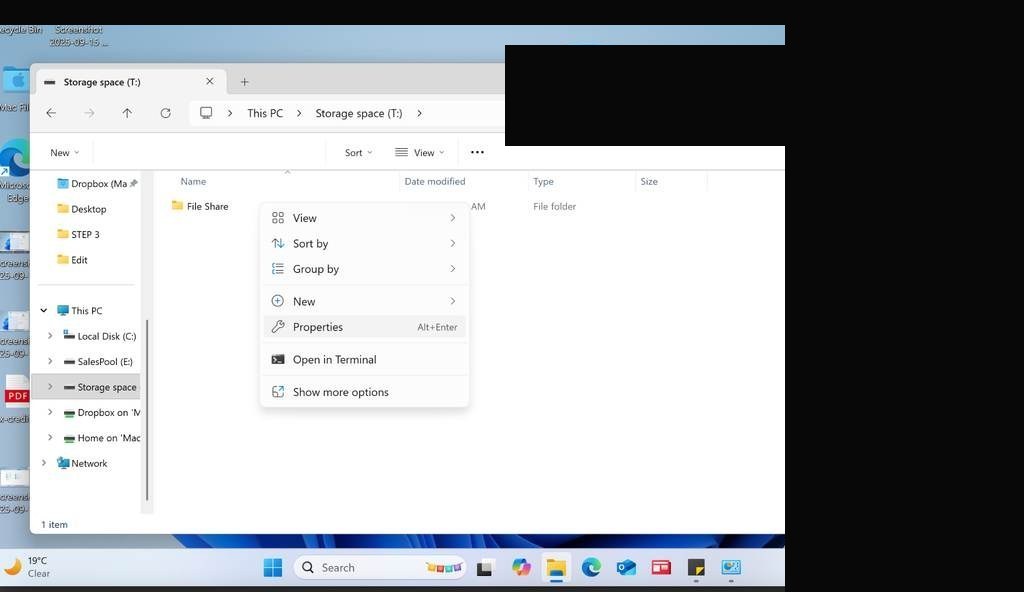
Storage space volume visible in File ExplorerFile Share folder created on the mirrored volumeFolder properties — confirming location on storage pool driveFile Share folder ready for permissions configuration
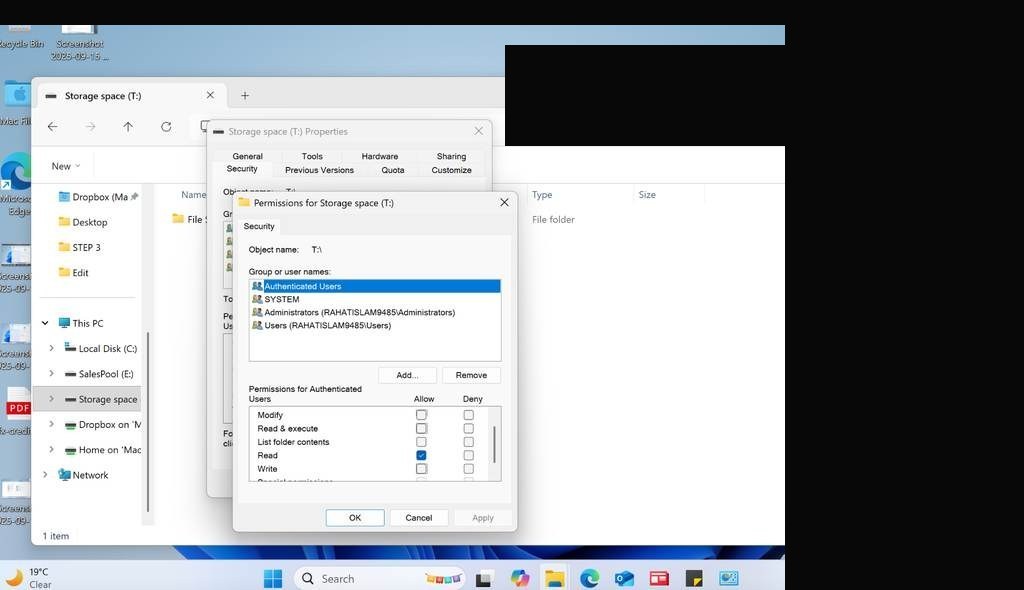
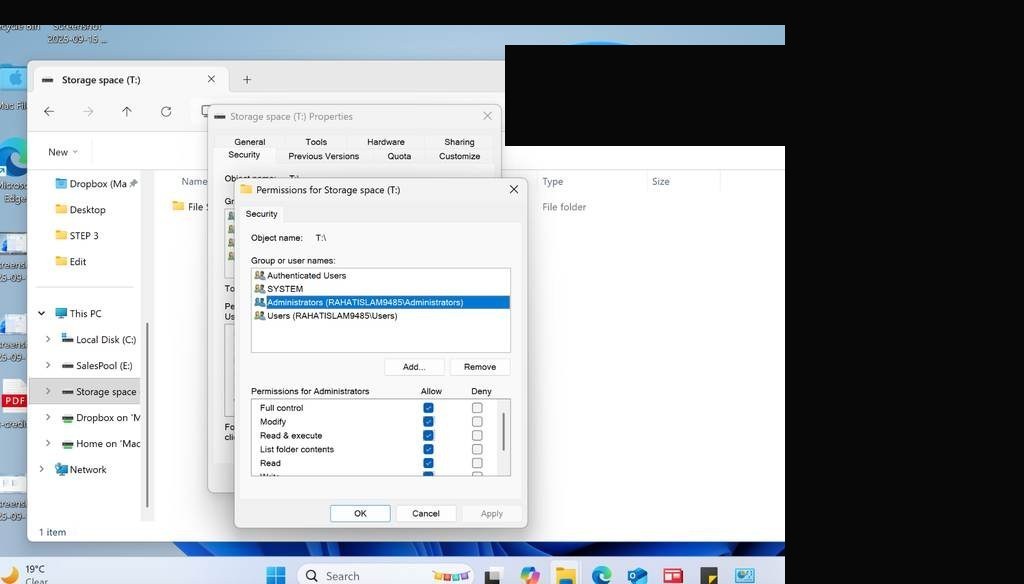
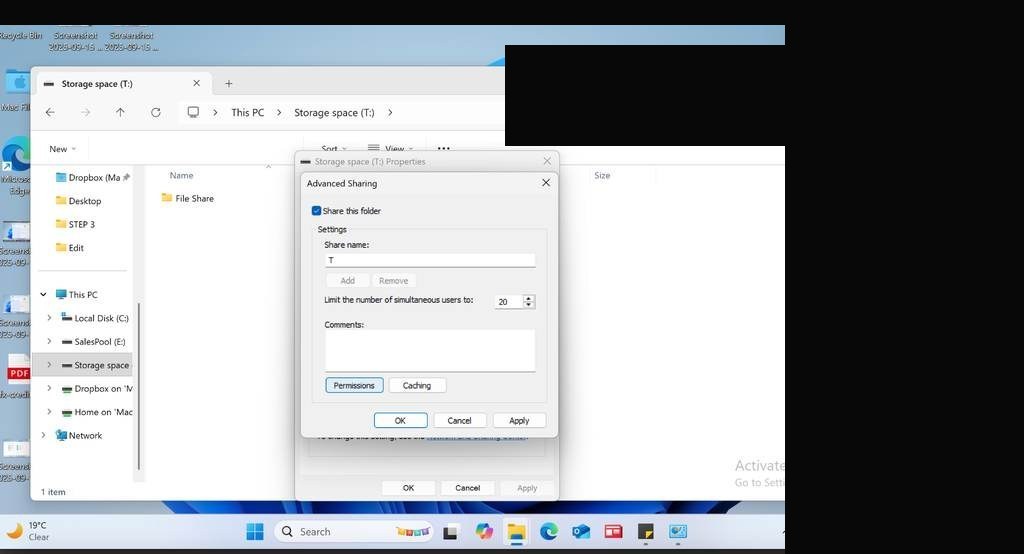
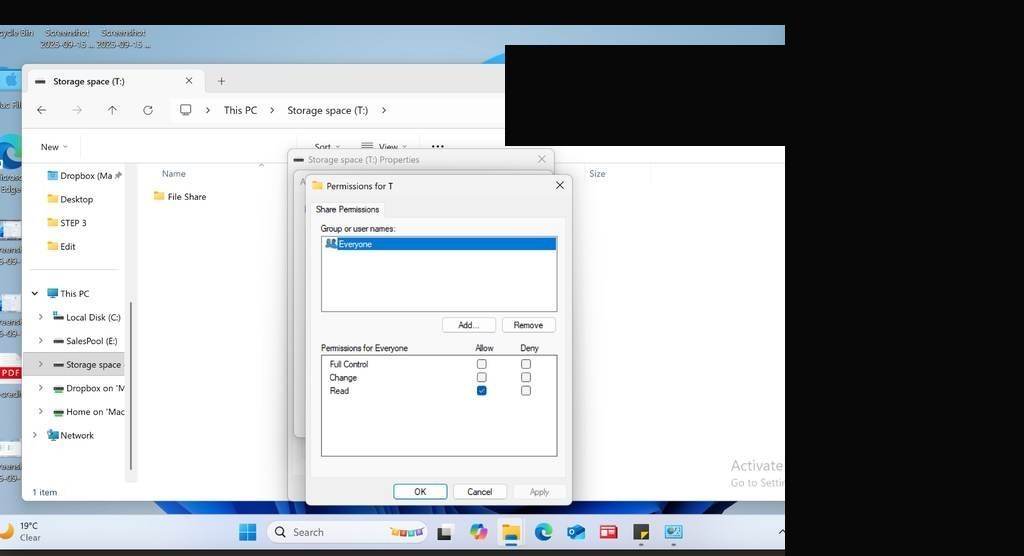
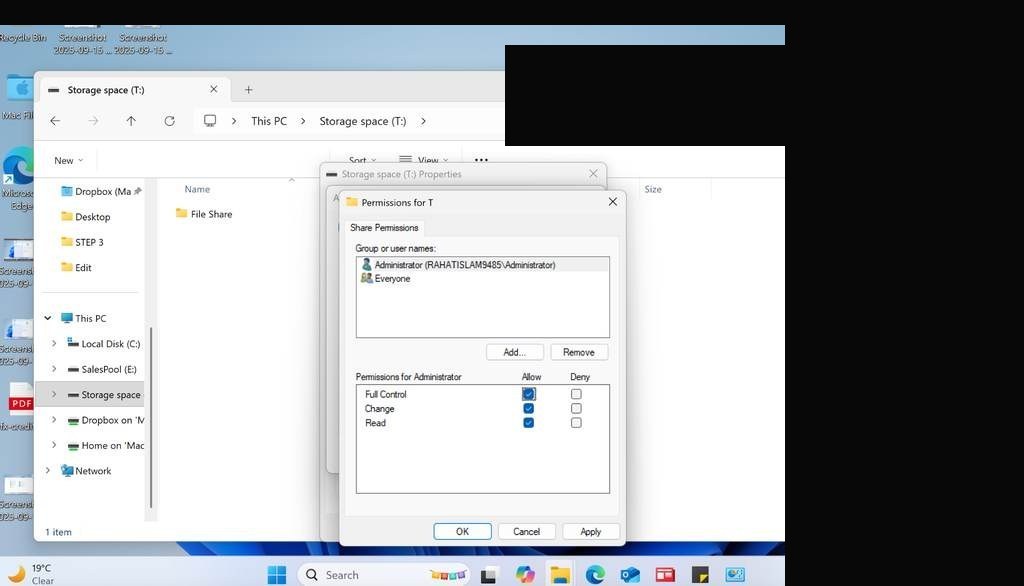
File sharing permissions in Windows are a two-layer system: Share permissions control network access at the share level, while NTFS permissions control access at the file system level. The effective permissions are the most restrictive of the two. This task required sharing the File Share folder with specific user access levels — read vs. read/write — matching a permission matrix defined in the course.
I right-clicked the folder, set up sharing through Advanced Sharing, configured the share permissions, then drilled into Security to set NTFS permissions. Each user/group was assigned the correct permission level and verified by reviewing the access control list.
Advanced Sharing dialog — folder being shared on networkShare permissions dialog — user permissions being configuredSecurity tab — NTFS permissions for the File Share folderRead permission assigned to designated userRead/Write permissions assigned to second userPermission summary — all users configured correctlyNetwork path verified — folder accessible via UNC pathFinal NTFS permission ACL confirmed
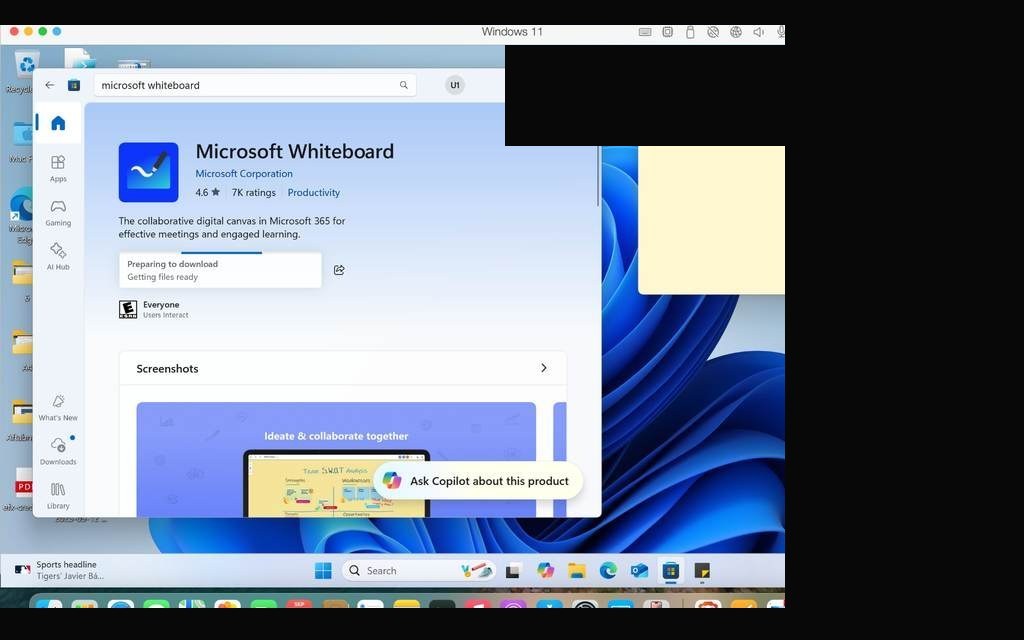
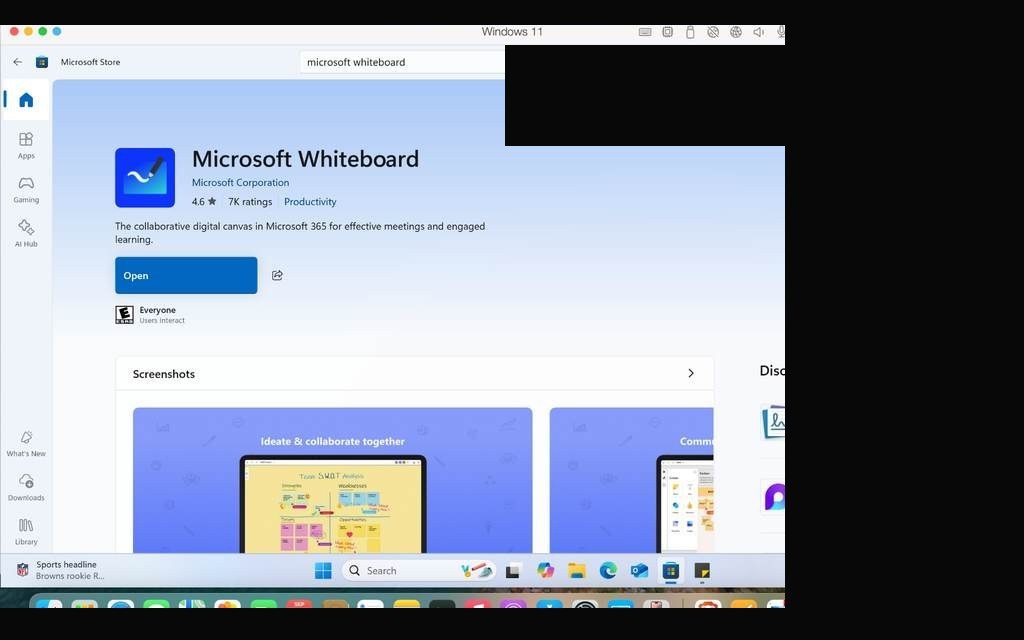
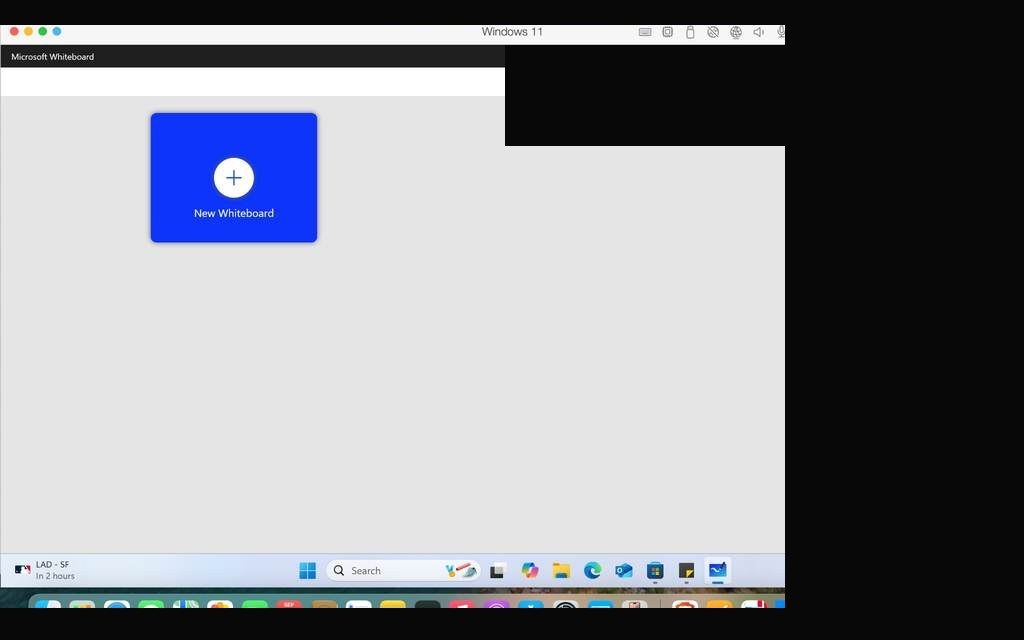
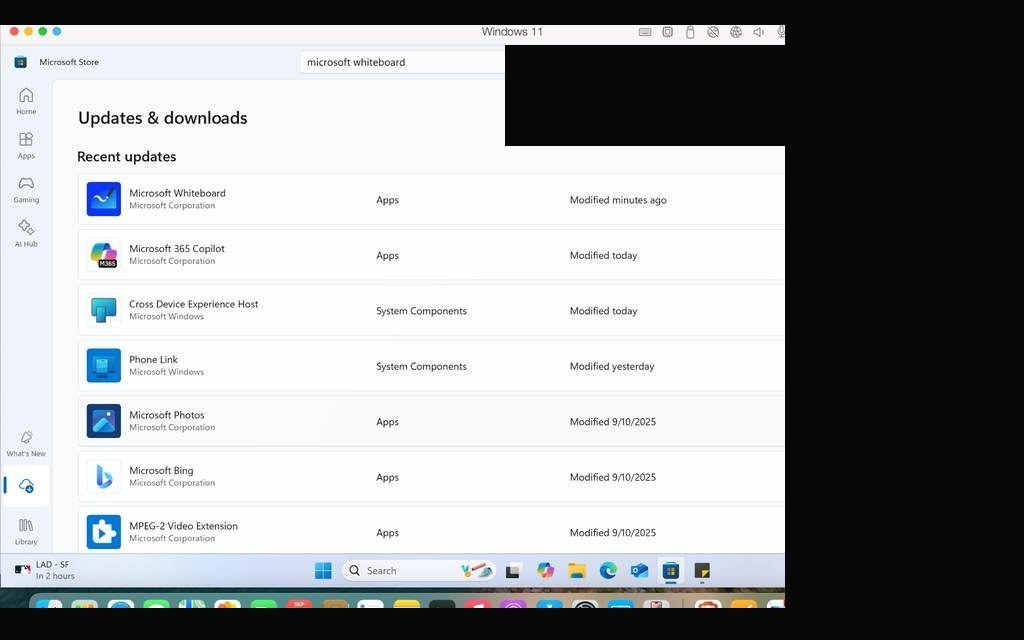
TASK 09Deploy Microsoft Whiteboard from Microsoft Store
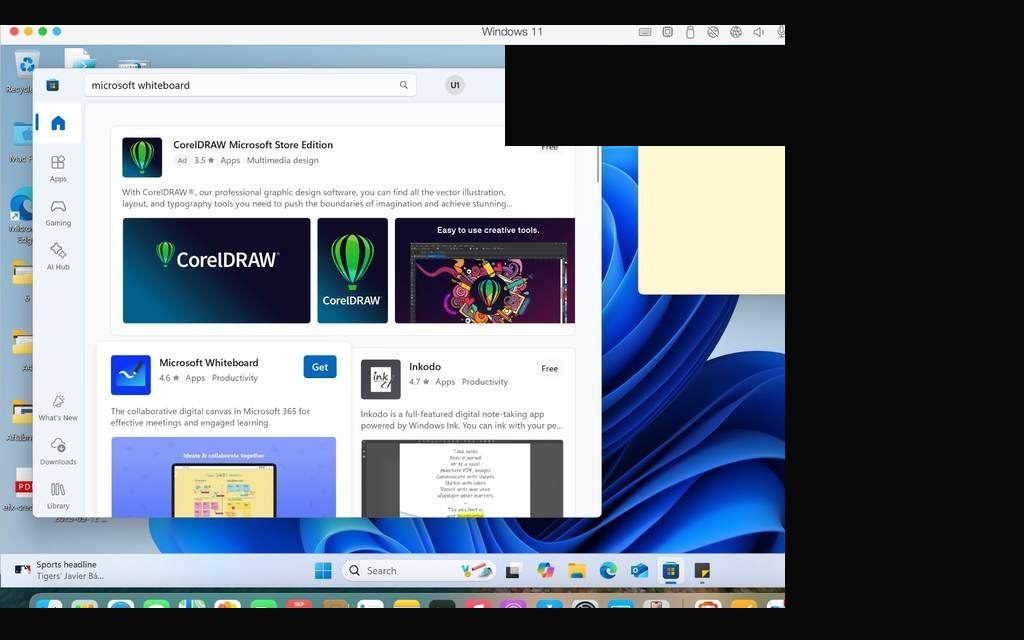
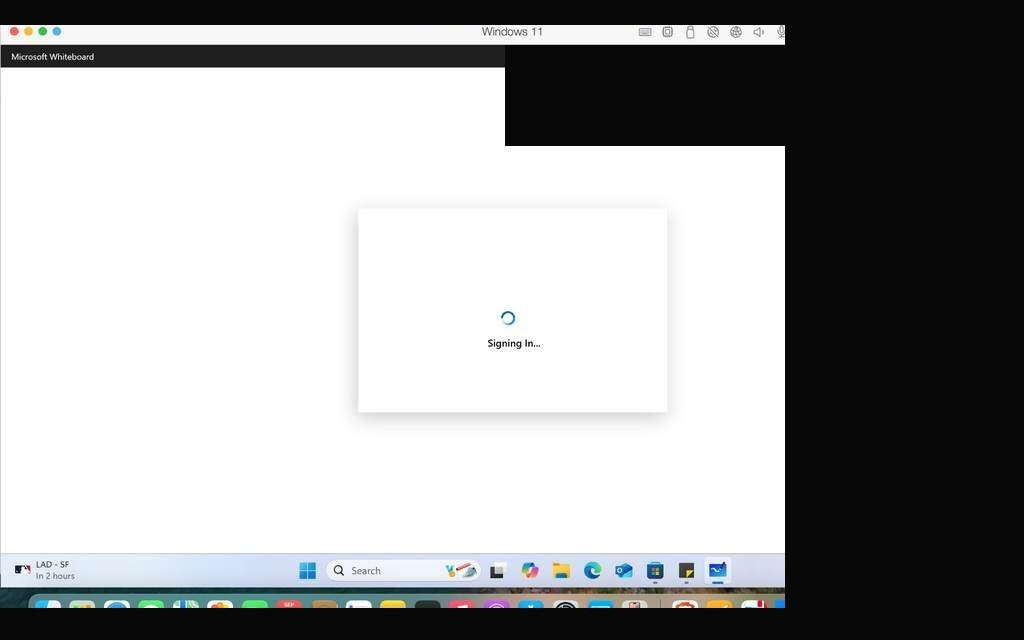
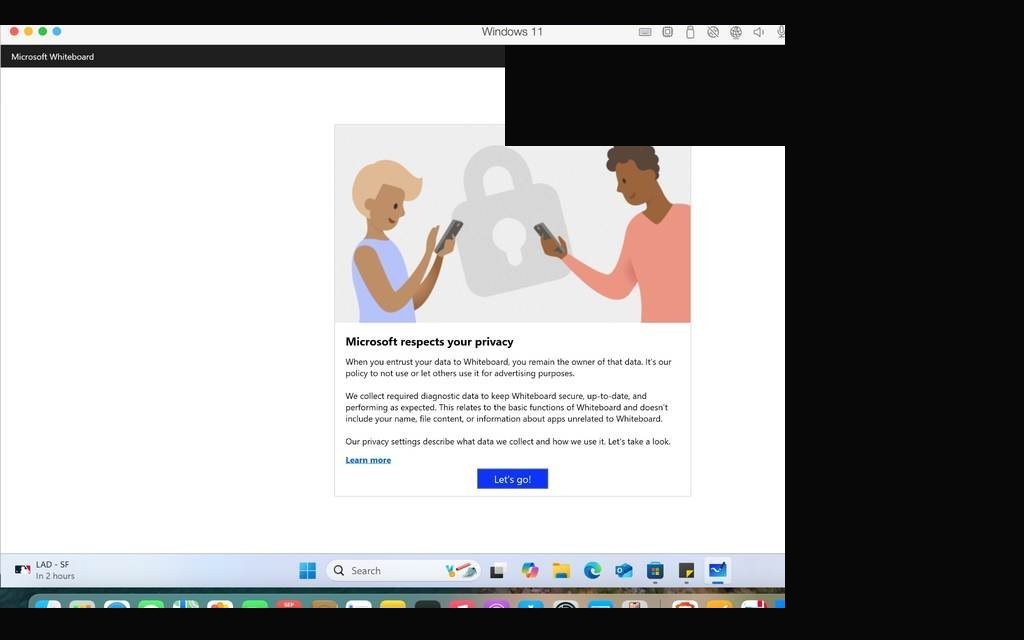
Application deployment from the Microsoft Store is a standard workflow in modern endpoint management. This task required installing Microsoft Whiteboard from the Store — simulating how IT might push a collaboration app to a managed workstation. Post-install verification confirmed the app launched correctly and was visible in the Start menu.
Microsoft Store open — searching for Microsoft WhiteboardWhiteboard app page — clicking InstallInstallation in progress — downloading and installingWhiteboard successfully installed — visible in Start menuMicrosoft Whiteboard launched and running on Windows 11App verified — Whiteboard interface open and functionalWhiteboard confirmed working — installation task complete
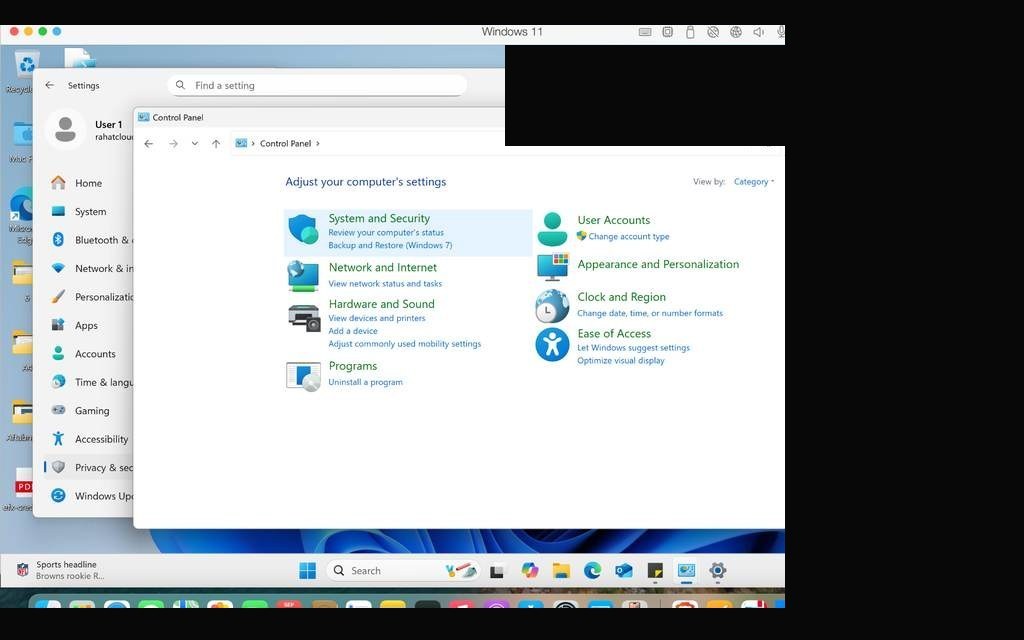
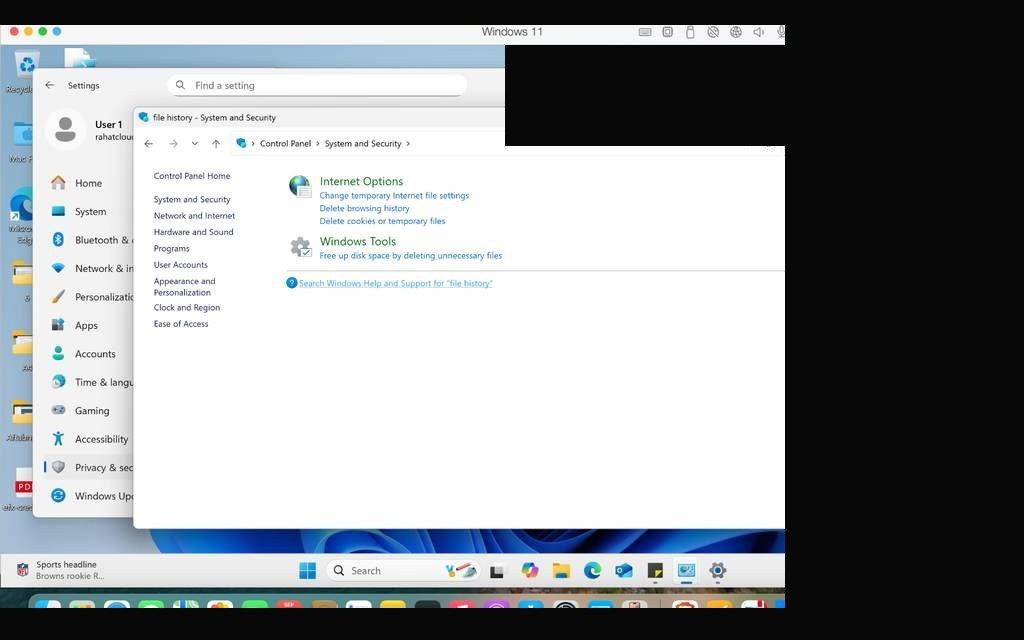
TASK 10Configure File History — 30-Day Retention on Storage Space
File History is Windows' built-in backup and versioning solution — it automatically saves copies of files to a designated drive, allowing recovery of older versions. This task required configuring it to keep historical copies for 30 days, pointed at the storage space volume created earlier.
ℹ
Note to evaluator: For this task, I was on my Mac just like all other tasks. The File History configuration steps were completed within the VMware environment — some screens may vary slightly due to virtualization layer differences with storage device detection.
File History settings — selecting the storage space as backup driveAdvanced Settings — Keep saved versions set to 30 daysFile History running — first backup in progressBackup confirmed — File History active on storage space volume
02
Windows Server 2022 Enterprise Domain
Building a full multi-server Windows Server 2022 domain from the ground up inside UTM on an Apple Silicon MacBook — two servers, one workstation, a complete Active Directory domain, DHCP, DNS, GPOs, and file services, all verified and documented.
Windows Server 2022Active DirectoryDHCP / DNSGroup PolicyUTM · Apple SiliconNTFS Permissions
PHASE 01Virtual Machine Provisioning — Windows Server 2022 on UTM (Apple Silicon)
The first challenge wasn't the server — it was the hardware. Building Windows Server 2022 on an Apple Silicon MacBook Air required using UTM, a virtualization platform for macOS that supports both ARM and x86 emulation. I created the primary Domain Controller VM (LAB-DC01) with 4 vCPUs, 8GB RAM, and 64GB storage in x86_64 mode, then installed Windows Server 2022 Datacenter Evaluation (Desktop Experience) for full GUI access.
VM Specs — SRV01 (Domain Controller): 4 vCPUs · 8 GB RAM · 64 GB storage · x86_64 architecture · Windows Server 2022 Datacenter Evaluation (Desktop Experience)
UTM VM configuration evidence with identifiers redactedUTM VM resource summary — 4 vCPUs, 8GB RAM, 64GB storage confirmedWindows Server 2022 edition selection — Datacenter Evaluation with Desktop ExperienceWindows Server 2022 installation progress — files copyingCompleting built-in Administrator setup during first-time setupWindows Server 2022 boots to lock screen — Ctrl+Alt+Delete promptServer Manager loads automatically after first login
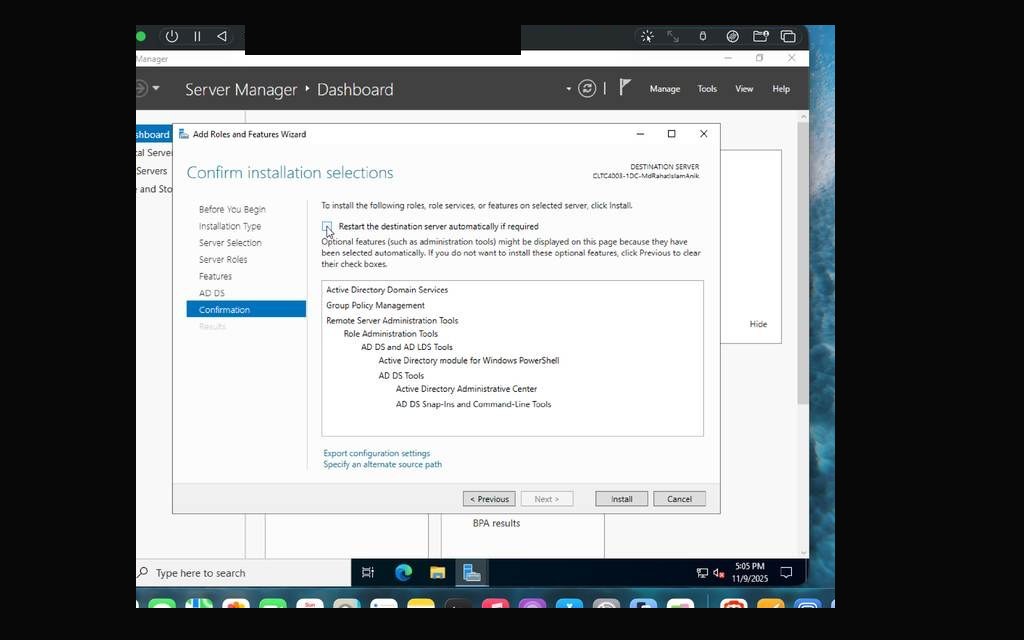
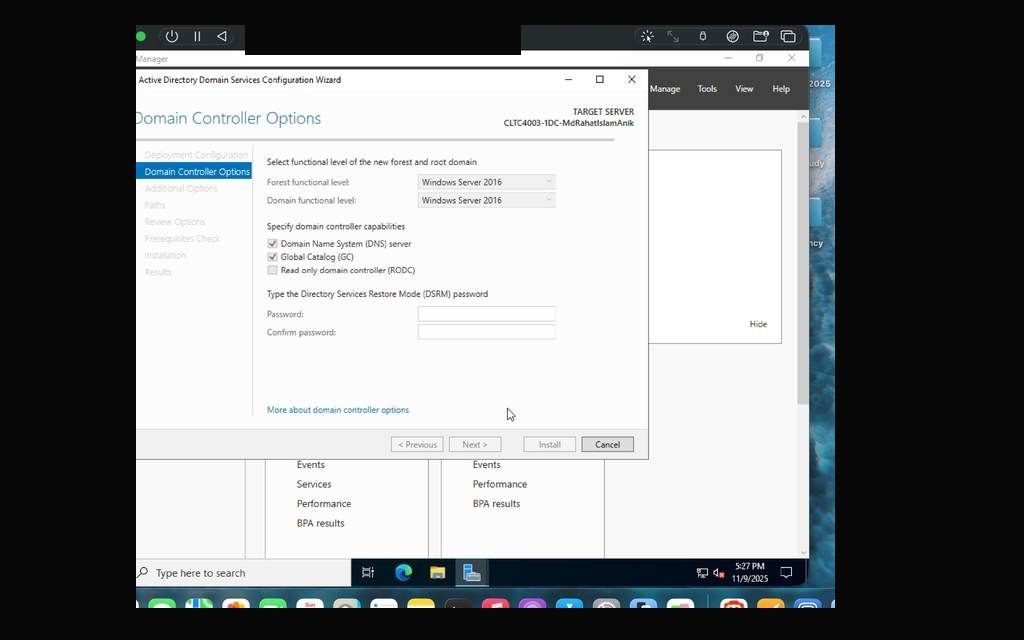
This was the moment the server transformed from a standalone box into the authority of a lab Active Directory domain. I installed the AD DS role through Server Manager's Add Roles and Features Wizard, selected the lab domain controller as the target, and began the promotion process. Choosing "Add a new forest" created the lab-local root domain.
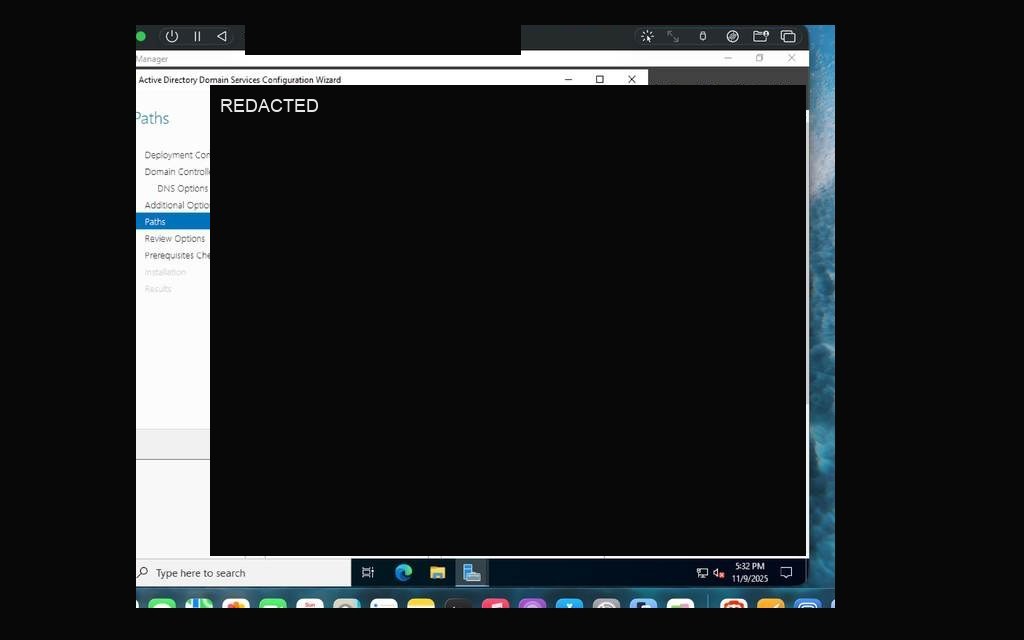
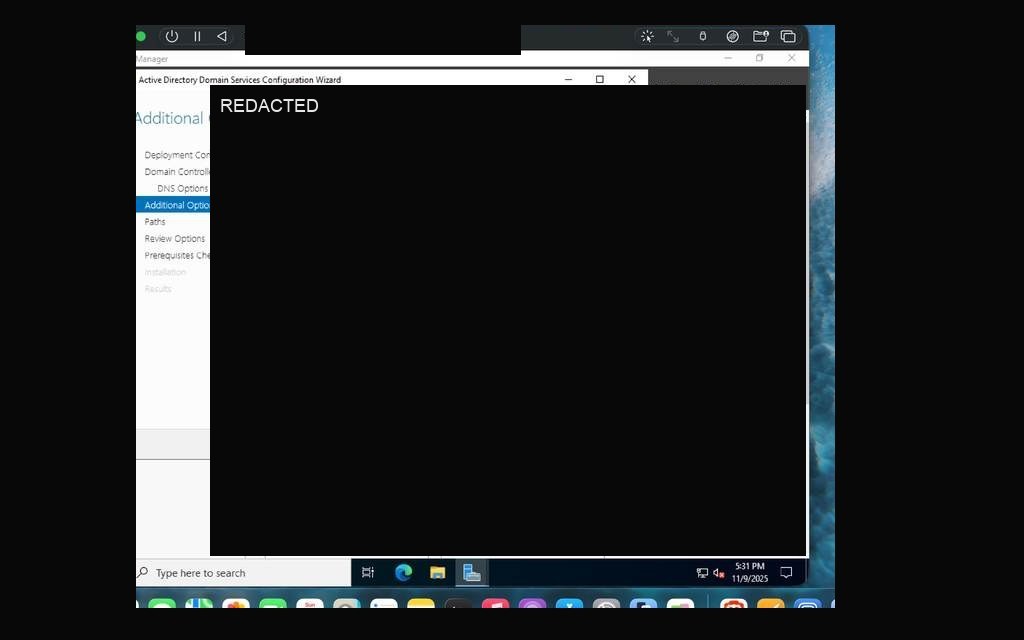
The promotion wizard walked through DNS integration, Global Catalog designation, recovery-mode setup, and NetBIOS naming. The wizard auto-generated a PowerShell deployment script, showing that the configuration could be repeated and automated. After the final prerequisites check passed with the expected DNS delegation warning in an isolated lab, the server rebooted and came back online as the domain controller.
Server Manager — Local Server overview, ready for role installationAdd Roles and Features Wizard — Before You BeginSelecting the lab domain controller as the destination serverAD DS role selected for installationAD DS information page — DNS requirements reviewedAD DS installation confirmation — components listedAD DS installation in progress on SRV01AD DS Configuration Wizard — Add New Forest selected for lab domainDomain Controller Options — DNS and Global Catalog enabledDNS Options — no delegation required in standalone lab environmentAdditional Options — NetBIOS name ANIK auto-populatedAD DS Default Paths — NTDS, SYSVOL confirmedAD DS Prerequisites Check — all checks passedFirst domain-controller logon — promotion confirmed
PHASE 03DHCP Server — Multi-Site Scopes for Toronto & Montreal
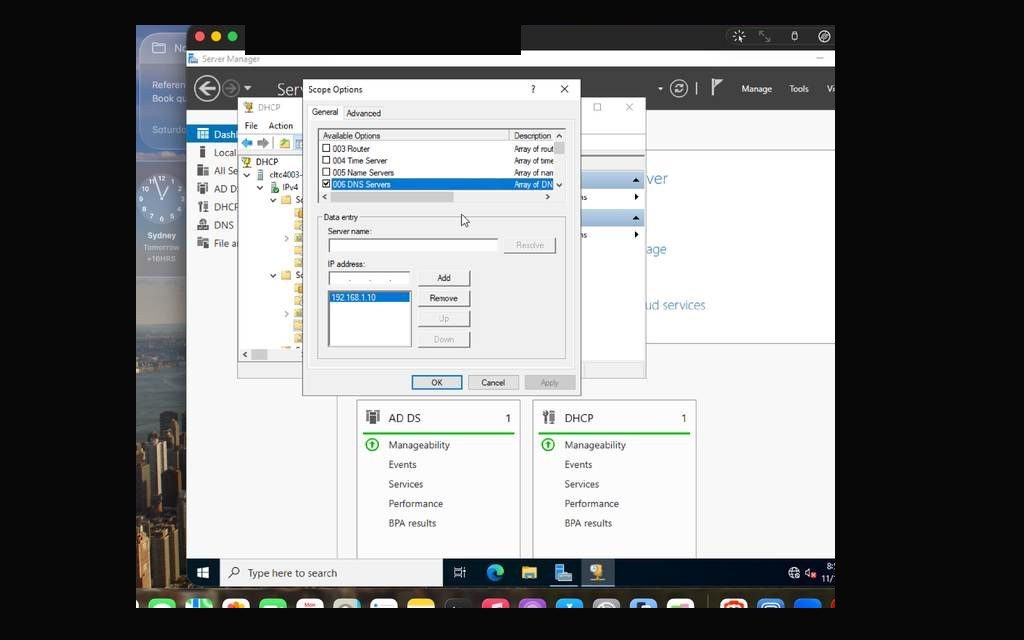
With the domain running, the next critical service was DHCP — the mechanism by which clients receive an IP address, gateway, and DNS server automatically. I installed the DHCP Server role on the domain controller after assigning a static IPv4 address so DHCP and DNS services were anchored to a fixed address.
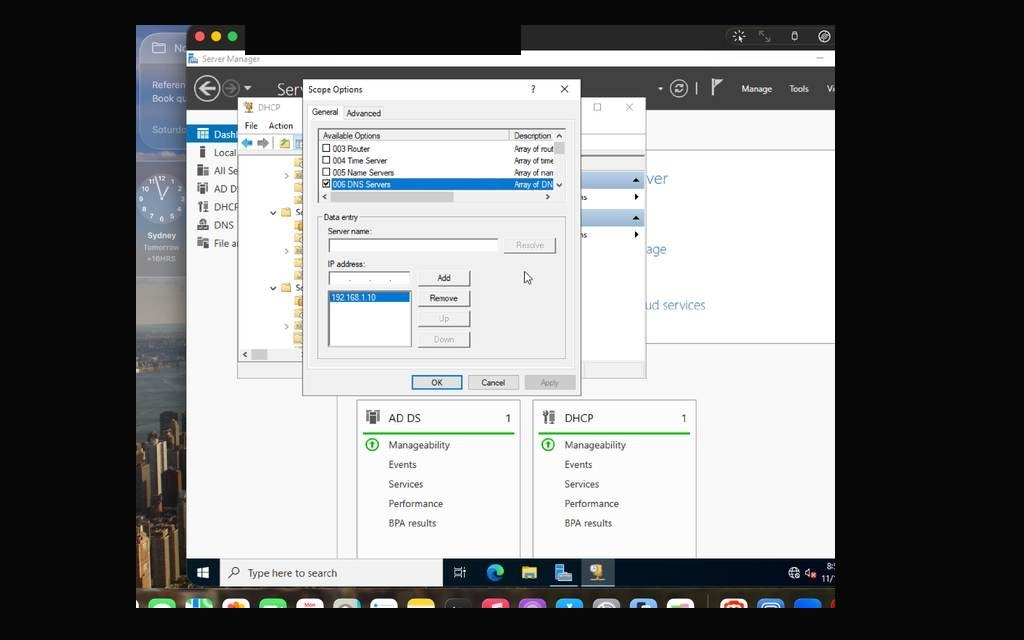
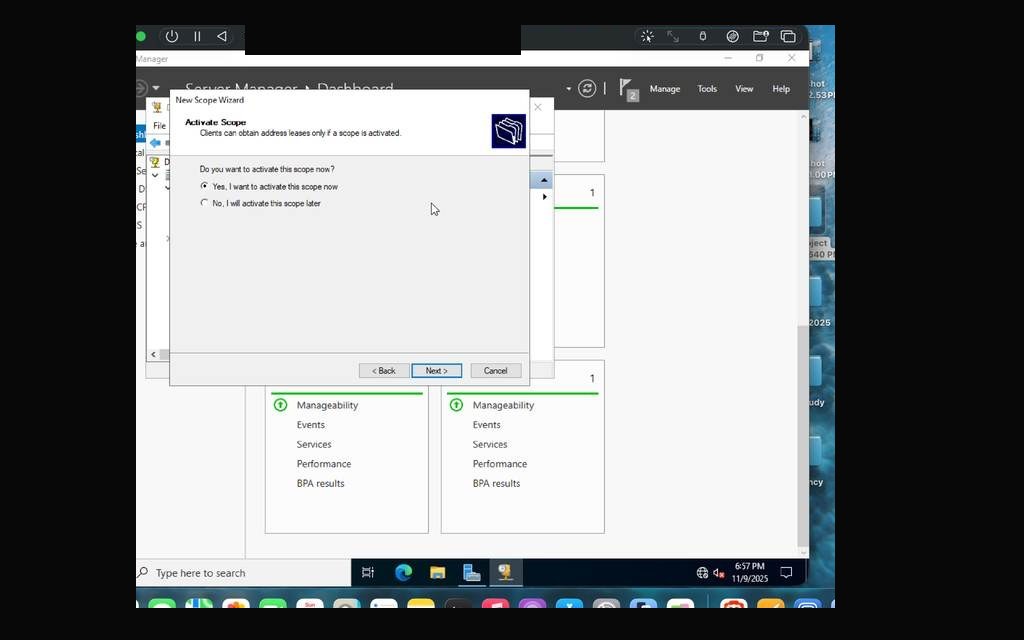
I created one primary lab scope plus four simulated site scopes to model a multi-site enterprise network with offices in Toronto and Montreal. Each scope was configured with subnet ranges, exclusions, and scope options (Router 003, DNS Server 006, DNS Domain Name 015). A DHCP reservation for the member server ensured it would receive a consistent lab address.
Scopes created: one primary lab subnet plus four simulated site scopes for Toronto and Montreal lab/office segments.
DHCP installation warning — static IP required before proceedingStatic IPv4 address applied to the domain controllerDHCP Server role selected for installationDHCP Server role installation in progressNew Scope Wizard — primary lab scope named and describedDHCP scope activated — Yes, activate now selectedPrimary lab scope visible and active under IPv4 in DHCP ManagerMultiple scopes visible — Toronto and Montreal sites all configured
PHASE 04Second Server Deployment — SRV02 Joins the Domain
A single-server domain is a lab — an enterprise network normally includes member servers. I deployed a second Windows Server 2022 VM, LAB-SRV02, as a member server for domain lab services. The process mirrored the first server installation: create the UTM VM, install Windows Server 2022 Datacenter, complete first-time setup, rename the machine, and then complete the domain join.
Joining the domain required pointing the member server's DNS to the domain controller, completing domain authentication, and confirming the successful domain join. A static IP and DHCP reservation were then configured, with hardware identifiers redacted in public evidence.
UTM VM creation for SRV02 — default Windows template, x86_64SRV02 first boot — Windows Server 2022 setup beginsWindows Server 2022 edition selection for SRV02Drive 0 selected for OS installationWindows Server 2022 installation progress on SRV02SRV02 first boot completing service initializationSRV02 login screen — first boot after Windows Server 2022 installServer Manager on SRV02 — local server properties on first loginMember server renamed to lab convention — restart requiredMember server successfully joined to the lab domainLogging into SRV02 with domain authenticationStatic IP and DNS configured on SRV02 — pointing to the domain controllerSRV02 network adapter — static IP and DNS settings confirmedRe-applying static IPv4 on SRV02 post-domain joinipconfig confirms static IP and gateway on SRV02DHCP reservation for SRV02 created in DHCP Manager
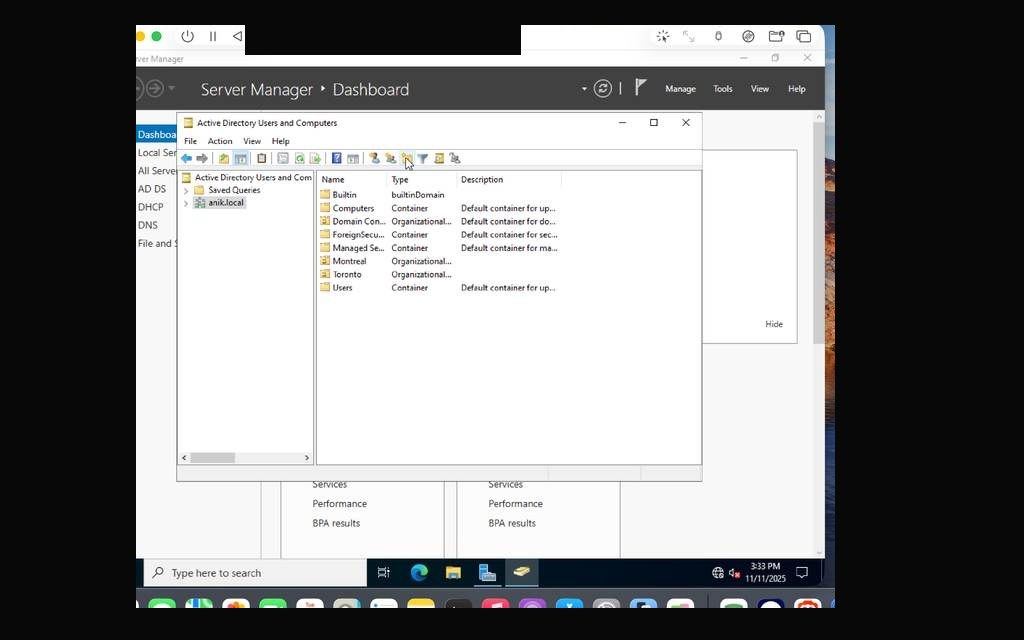
PHASE 05Organizational Units, Users & Security Groups
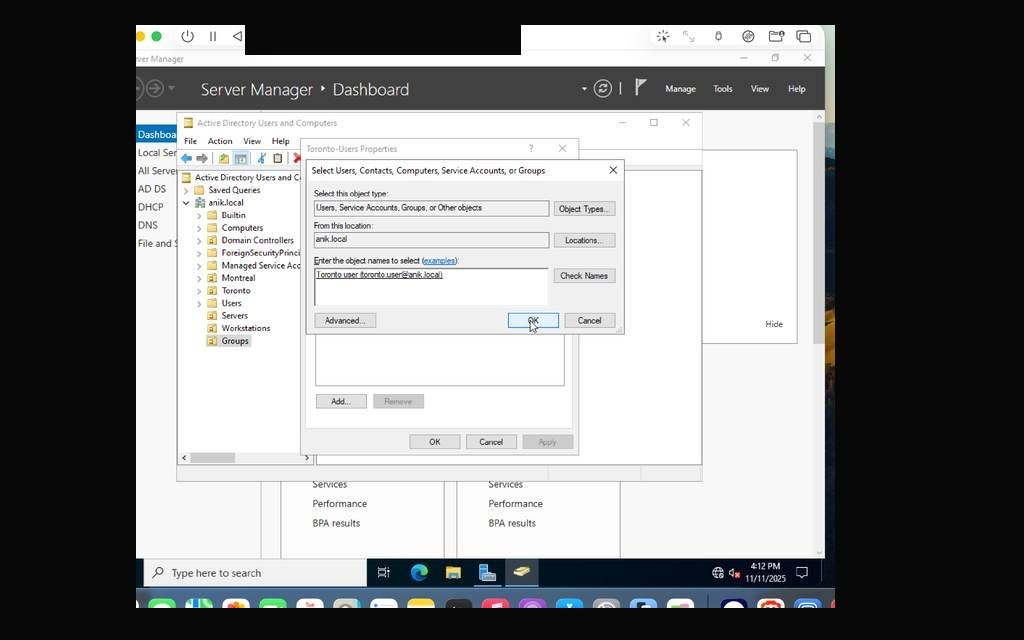
Active Directory's power comes from organization. I opened Active Directory Users and Computers (ADUC) on the domain controller and built a full OU hierarchy under lab.local: Toronto, Montreal, Servers, Workstations, Groups, and Users — mirroring how a real enterprise organizes its directory structure by geography and function.
Inside each location OU, I created user accounts with proper UPN suffixes (lab user account, lab user account), enforced first-logon account-change policies, and built Global Security Groups — Toronto-Users and Montreal-Users — adding each user to their respective group. This group structure would directly drive NTFS permissions and GPO filtering later.
ADUC open — default domain container lab.localOU creation — Montreal and Toronto OUs being builtToronto OU with Computers sub-OU visibleMontreal OU and Computers sub-OU structure confirmedFinal OU structure: Montreal, Toronto, Servers, Workstations, Groups, UsersNew user creation — lab user account in Montreal OUAccount policy for Montreal user — change at next logon enabledMontreal user account successfully createdMontreal OU showing lab user objectCreating Toronto user — lab user accountToronto OU showing lab user objectCreating Toronto-Users security group — Global/Security typeToronto-Users group successfully created in Groups OUAdding lab user to Toronto-Users groupToronto user confirmed as member of Toronto-UsersBoth Toronto-Users and Montreal-Users groups visible in Groups OUMontreal-Users group membership — lab user added
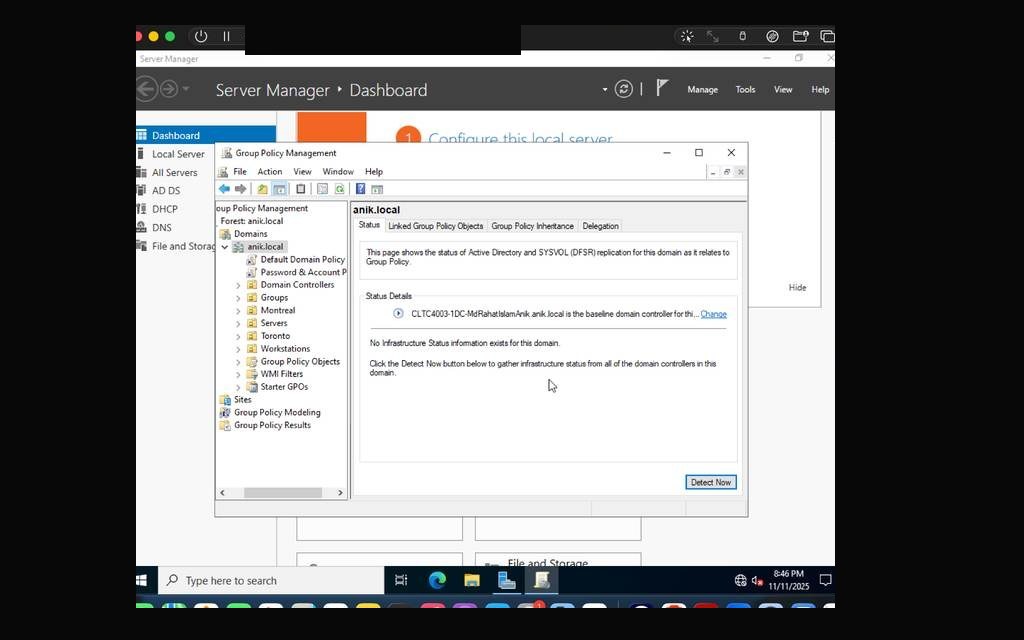
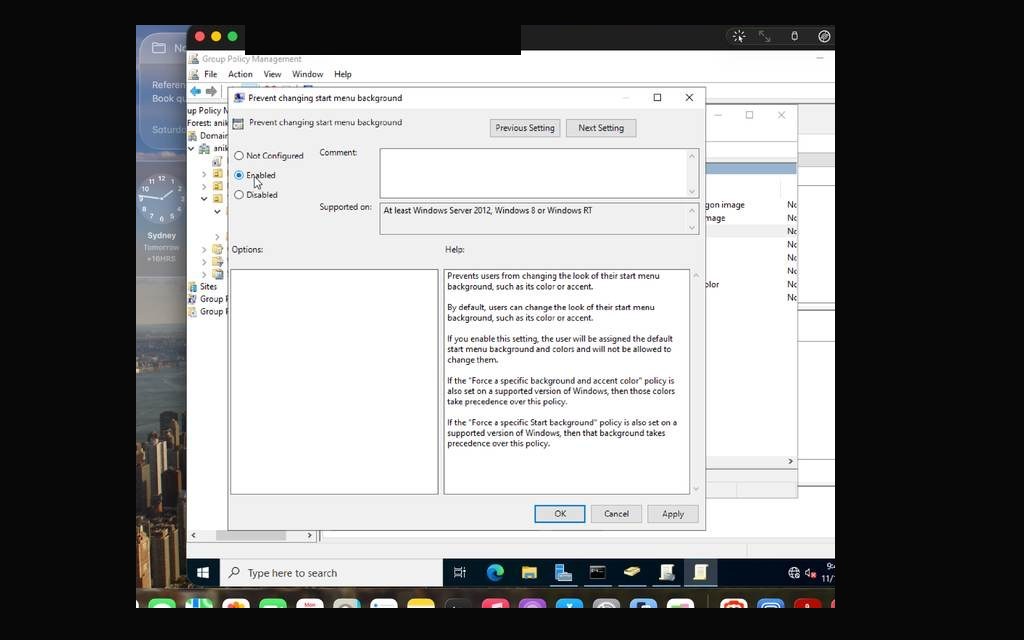
Group Policy is the central nervous system of Windows domain management. I configured lab policy settings to validate workstation/user policy behavior, including a UI restriction policy and a domain-wide account policy enforcing complexity, minimum length, history, and account lockout.
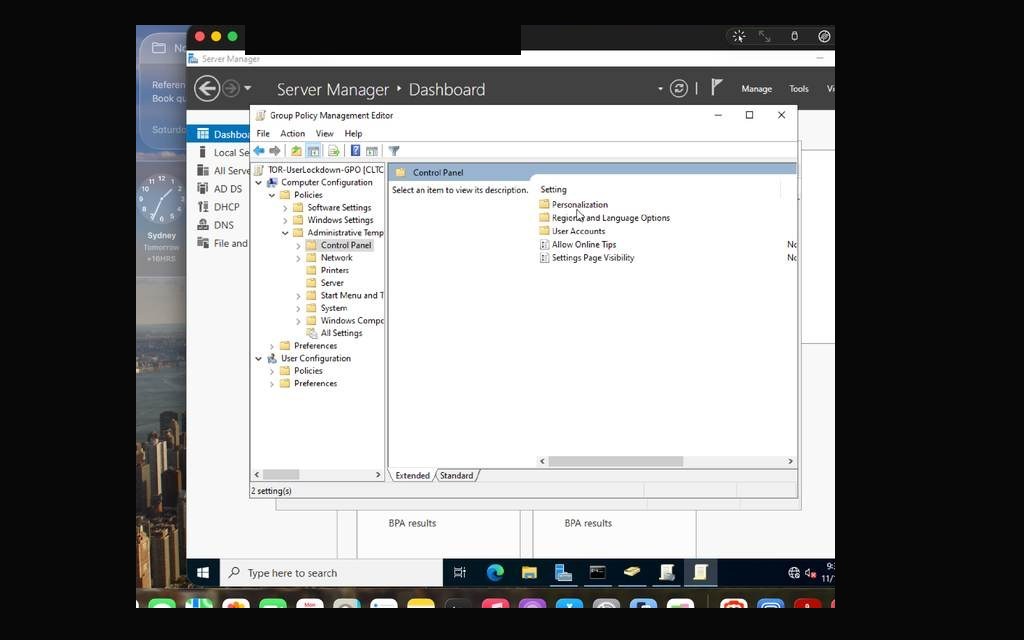
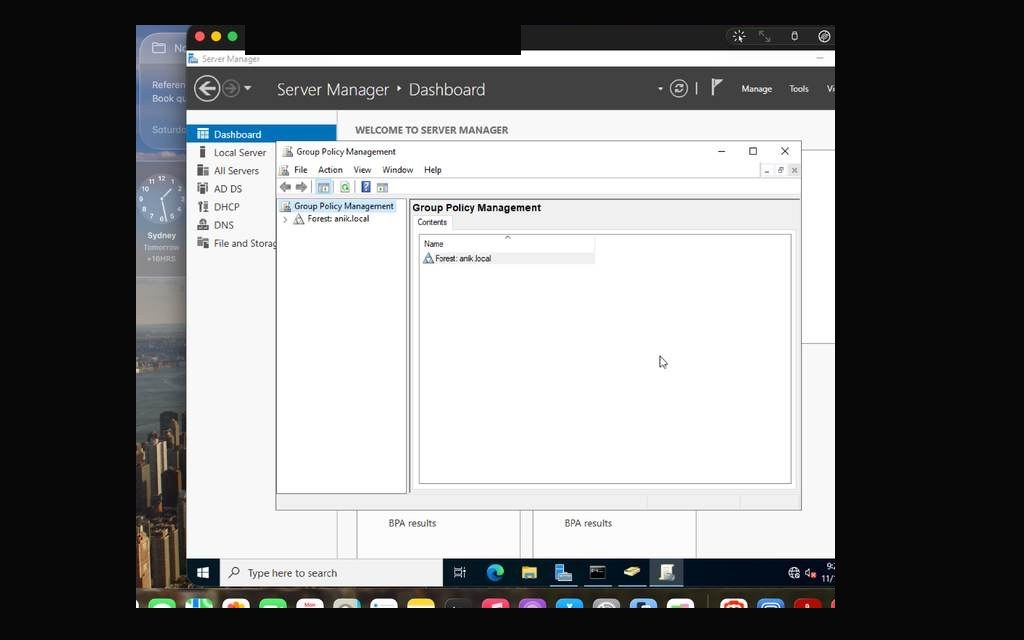
I opened the Group Policy Management Console (GPMC), created a lab lockdown GPO, and validated policy application from the workstation. Inside the policy editor, I navigated through Administrative Templates and enabled a UI restriction. For the account policy, I modified the Default Domain Policy: minimum length, complexity, maximum password age, and account lockout after repeated failed attempts.
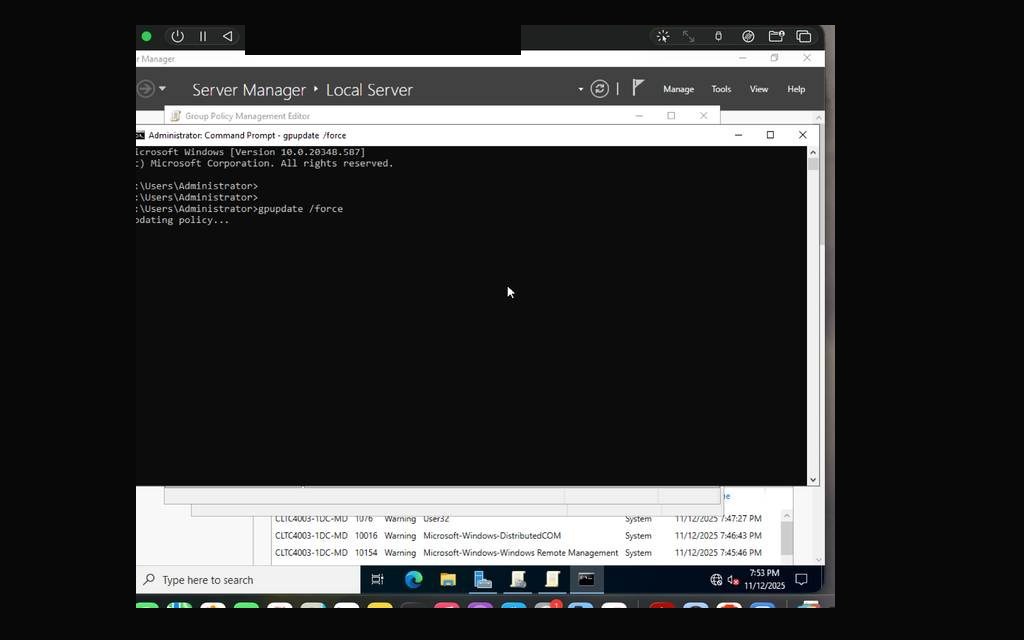
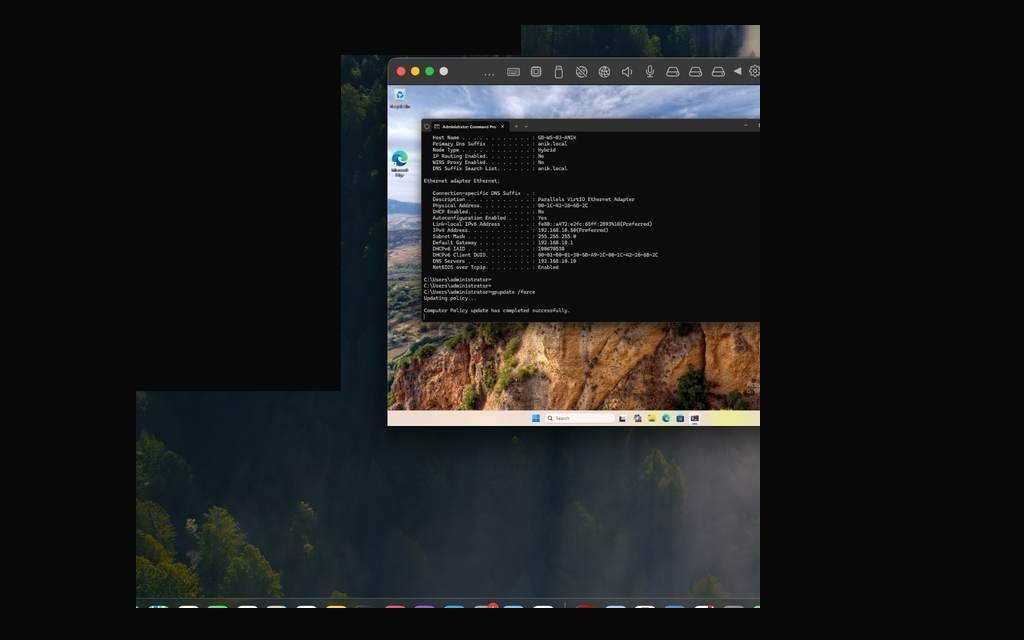
After applying changes with gpupdate /force, I ran gpresult /r on the workstation to confirm policy receipt. I then deliberately triggered the account lockout with repeated failed sign-in attempts, validating the lockout behavior in the lab. In production, user-side restrictions would be linked to the proper user OU or implemented with loopback processing where computer-targeted scope is required.
Group Policy Management Console open — lab.local domain structureDefault Domain Policy — GPO tree structure viewedAccount policy settings — history, minimum length, complexity visibleTOR-UserLockdown-GPO linked to Toronto → Computers OUGPO Scope confirmed — Authenticated Users in security filteringGPO editor — Administrative Templates → Control Panel openPrevent changing Start Menu background — EnabledAccount policy applied — min length 7, complexity on, max age 42 daysAccount Lockout Policy — 5 failed attempts, 15 min lockoutgpupdate /force executed in PowerShell on domain controllergpresult /r on workstation — Default Domain Policy and custom GPO appliedAccount lockout simulation — Toronto user locked after failed attemptsLockout delay confirmed — policy enforced in real time
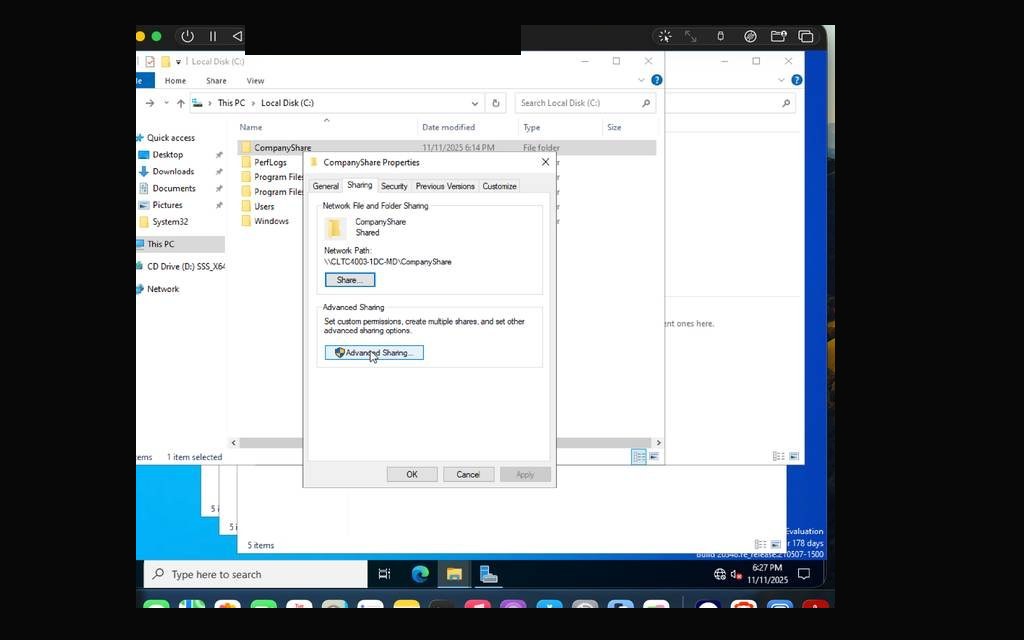
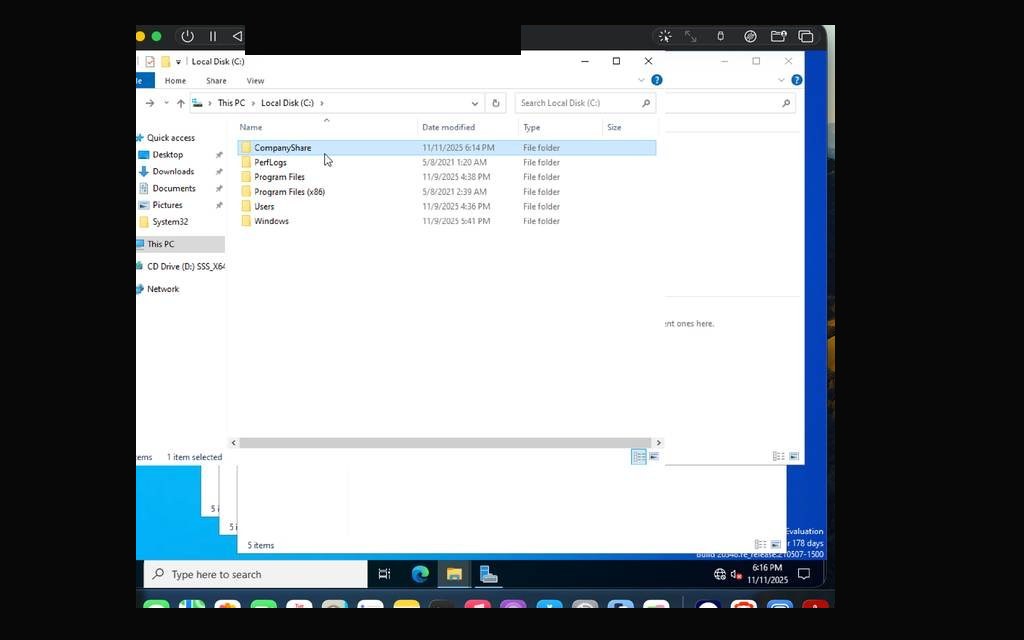
File sharing in a domain environment brings together everything built so far: users, groups, permissions, and the servers. I created a CompanyShare folder in the domain lab, shared it over the network, and configured layered share and NTFS permissions for the Toronto and Montreal security groups. Administrators retained Full Control.
From the workstation, I mapped Drive Z: using a domain user account and tested file access behavior to confirm the restrictions were applied.
CompanyShare folder created under C:\ in the domain labShare permissions — Toronto-Users granted Read accessShare permissions — Montreal-Users granted Change + ReadNTFS permissions — Toronto-Users assigned Modify + ReadNTFS permissions — Montreal-Users granted Modify + ReadDrive Z mapped on workstation using a domain userAccess restriction test — file creation attempt blocked
DNS is the backbone of an Active Directory domain — without it, nothing resolves. I opened DNS Manager on the domain controller, reviewed the server's network interface bindings, and configured an external DNS forwarder to handle queries outside the lab namespace.
ℹ
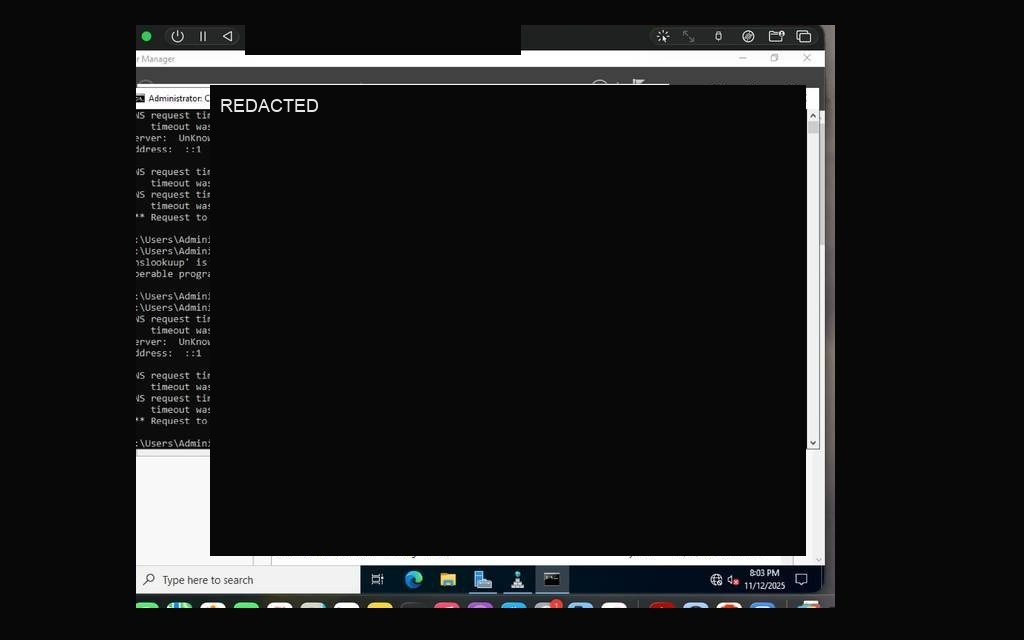
External forwarder validation was limited in this lab because UTM on Apple Silicon used NAT-only networking. Internal AD DNS behavior remained the main validation target, while external lookup behavior was documented as a platform constraint rather than treated as production-ready DNS validation.
DNS Manager open on LAB-DC01 — server interfaces reviewedDNS Forwarders — external resolver configured for lab testingnslookup test — timeout expected due to UTM NAT-only networkingDNS zones visible — lab.local forward and reverse lookup zones
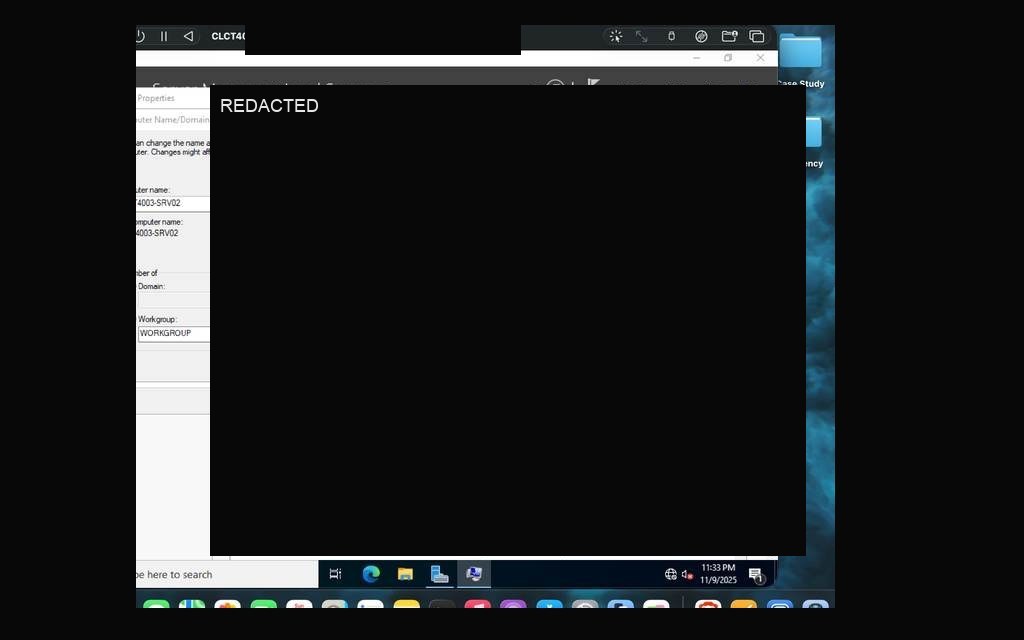
The final proof of a working domain is the workstation. I configured the Windows 11 VM (LAB-WS01) with DNS pointing to the domain controller, verified a successful ping to the DC, and ran nslookup to confirm name resolution. The domain join prompt required domain authentication — and returned the "Welcome to the lab domain" confirmation.
Post-join, the workstation received its DHCP-assigned IP, applied both computer and user GPOs (confirmed via gpresult /r), and successfully connected to the CompanyShare folder. Every service built throughout this case study — DHCP, DNS, AD DS, GPO, file sharing — was verified to be working end-to-end from a domain-joined client.
Workstation system properties — hostname LAB-WS01, currently in WORKGROUPipconfig — workstation lease and DNS settings verifiedPing to domain controller — successful, network confirmedDomain join prompt — completing lab.local authenticationWelcome to the lab domain — domain join confirmedDHCP verification — ipconfig /all showing correct lease from Toronto scopegpupdate /force on workstation — policies refreshedgpresult /r — Default Domain Policy and TOR-UserLockdown-GPO both applied
Project Reflection
What This Built in Me
These two case studies weren't just coursework — they were a complete walkthrough of the enterprise Windows stack from both ends. On the client side, I learned how IT teams provision, harden, and manage endpoints at scale. On the server side, I built the infrastructure those endpoints connect to.
Working within hardware constraints — Apple Silicon, UTM's NAT networking — forced me to understand why configurations are done the way they are, not just how to click through wizards. Every limitation I documented taught me something a lab manual couldn't.
The skills demonstrated here are foundational systems administration work: AD DS, DHCP, GPO, NTFS permissions, PowerShell, Storage Spaces, provisioning packages, and verification discipline.
Active Directory & Identity
Forest creation, DC promotion, OU hierarchy, user/group administration, ADUC
Network Services
DHCP multi-scope design, static IP assignment, DNS configuration, forwarders